SUMMARY
This is AI generated summarization, which may have errors. For context, always refer to the full article.
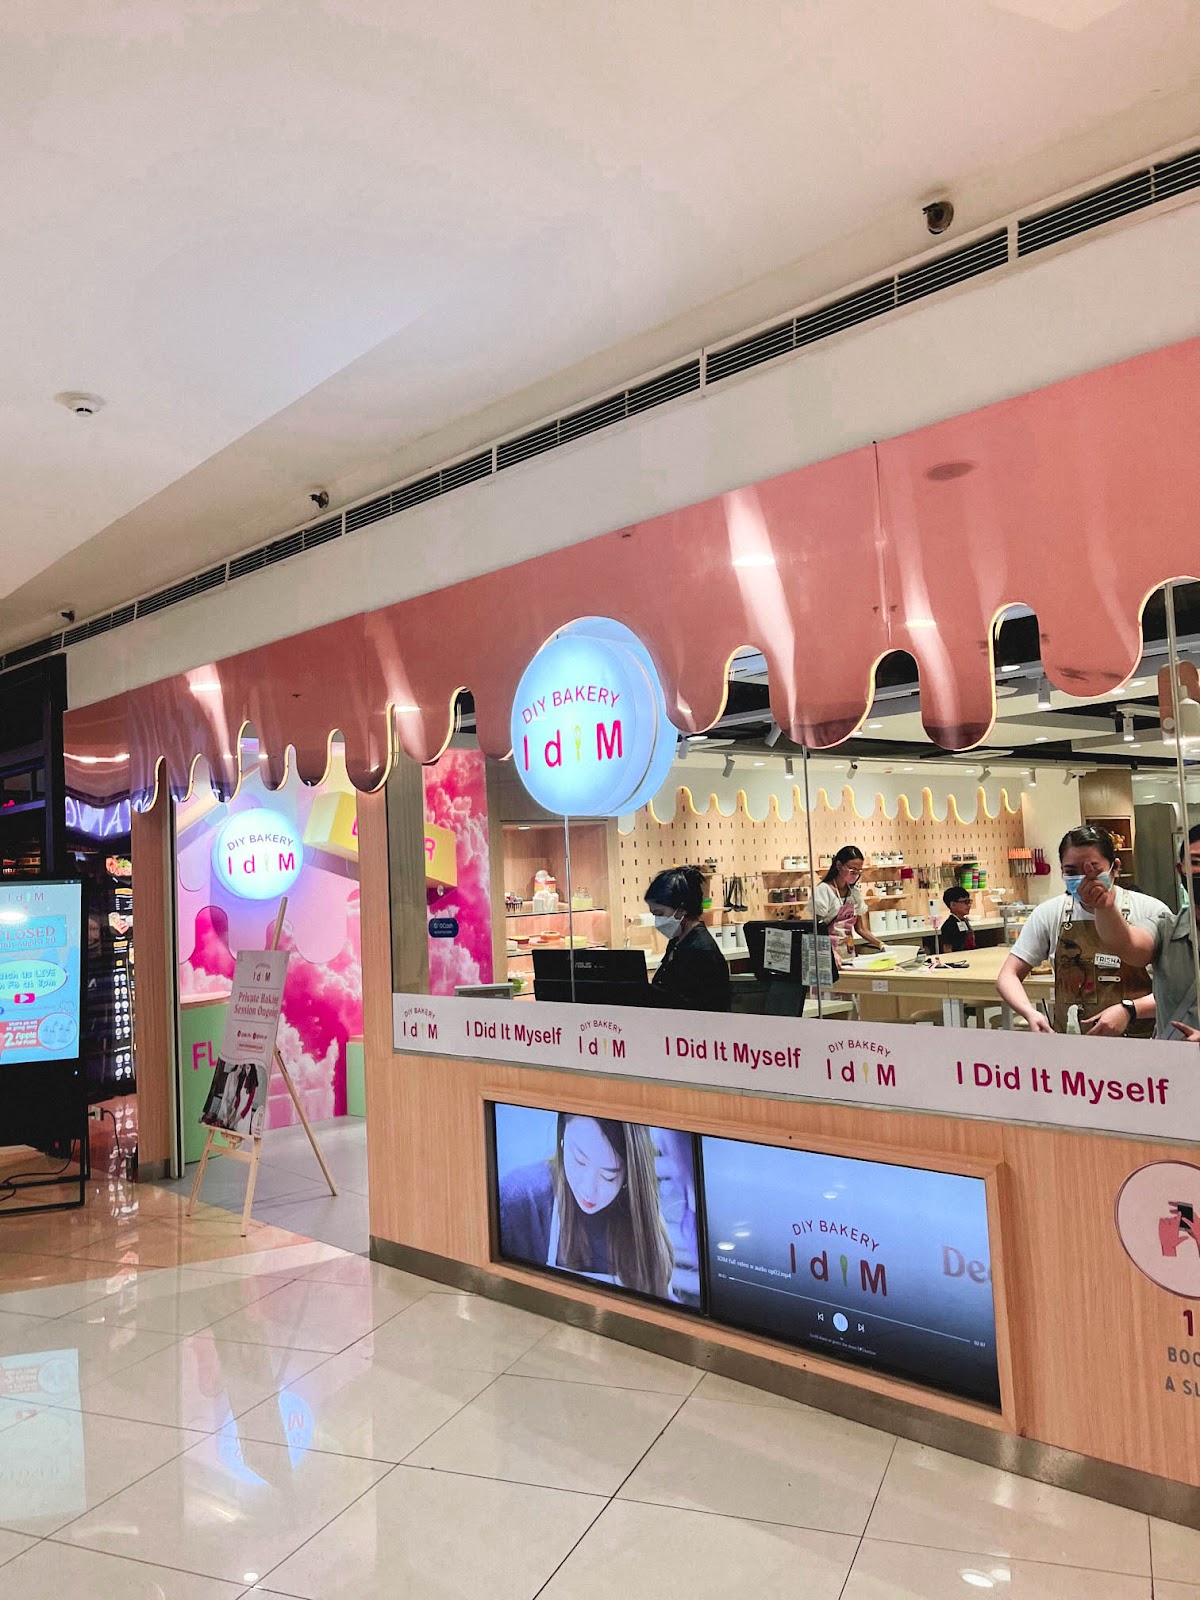
MANILA, Philippines – If you’ve ever dreamt of running your own confectionery show, you can now live out your home baker fantasies at SM Megamall’s I Did It Myself (IDIM) DIY Bakery, where baking your own beautiful cake has never been this sweet, easy, fun, and fulfilling!
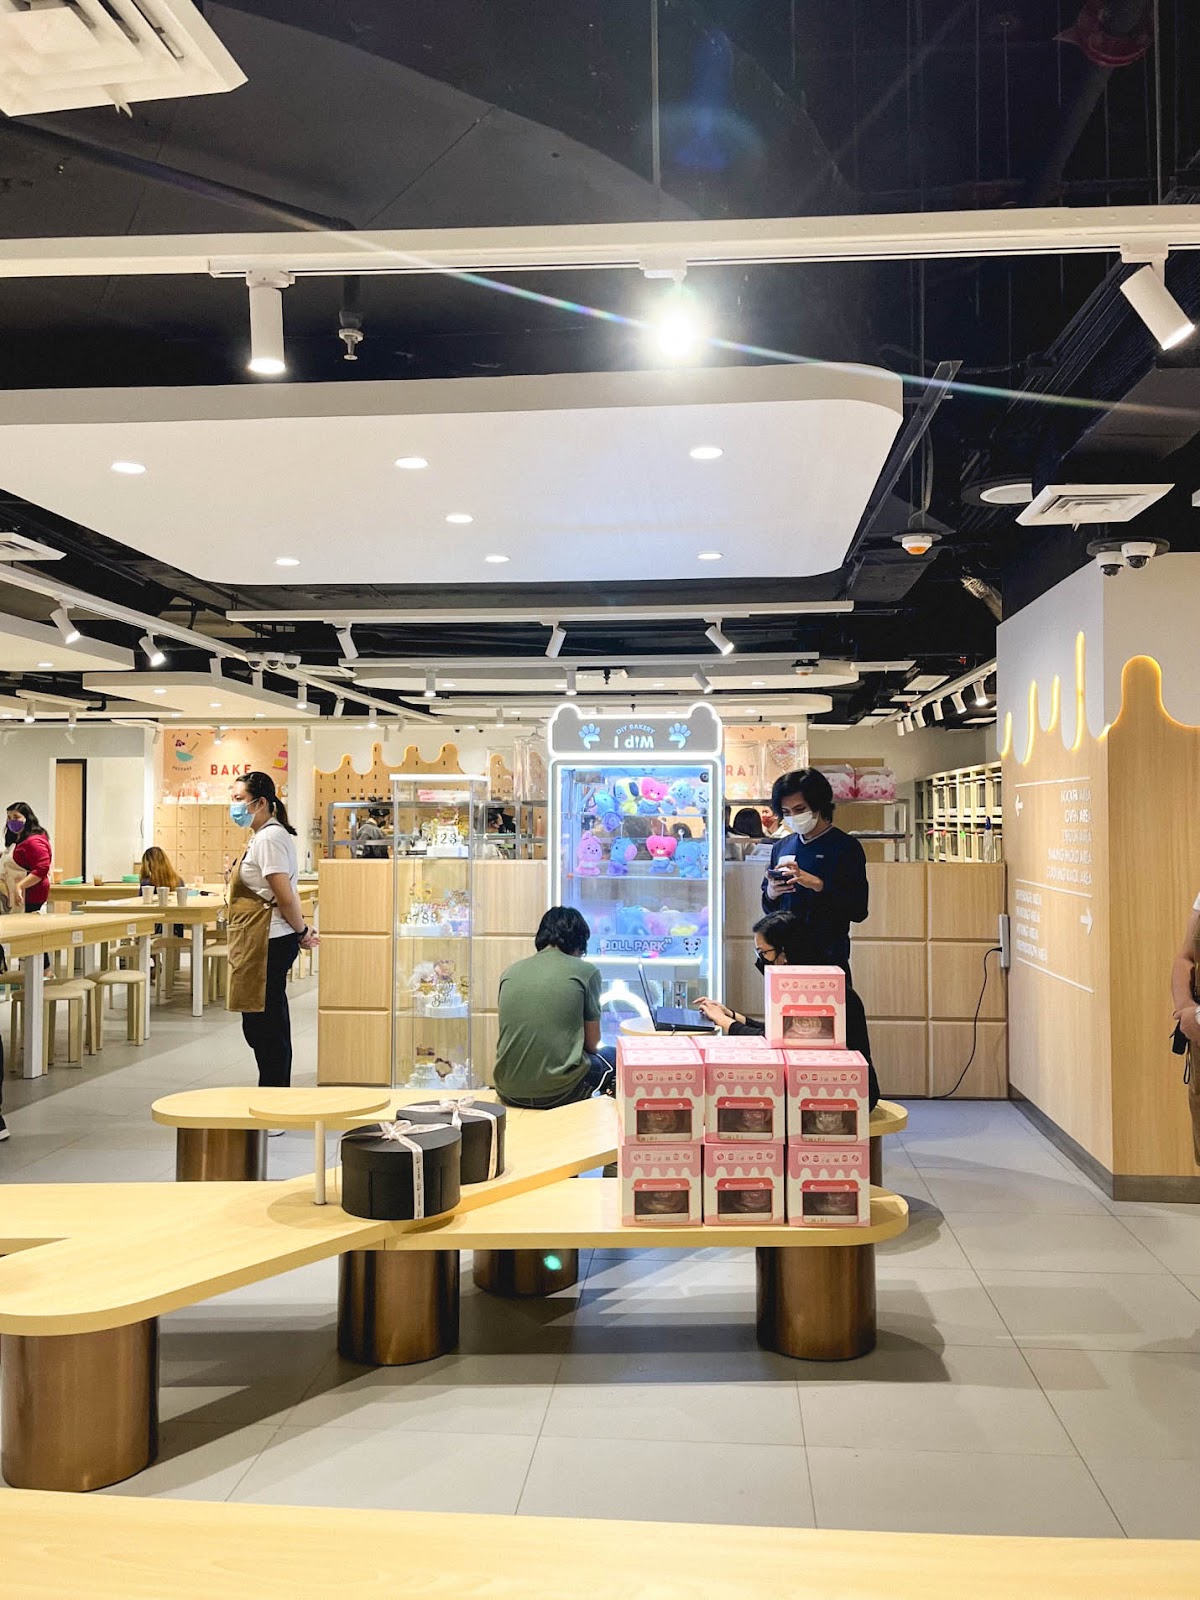
We paid a visit to the cute confectionery studio, which is hard to miss on the 4th floor of SM Megamall’s Mega Atrium. Walking towards its entrance, you’ll immediately see people mixing their cake batters through the big glass windows. Just from the outside, you can already catch a glimpse of the spacious studio filled with sprinkles, frostings, sugar, and everything nice!
First established in Taiwan, the international baking studio doesn’t just sell cakes, but allows its customers to bake and decorate the treats themselves! The concept welcomes anyone, regardless of your baking level and skills. Whether you’re a baking pro or a first-time baker, you’ll find something to love about the place. It’s all about having fun here.
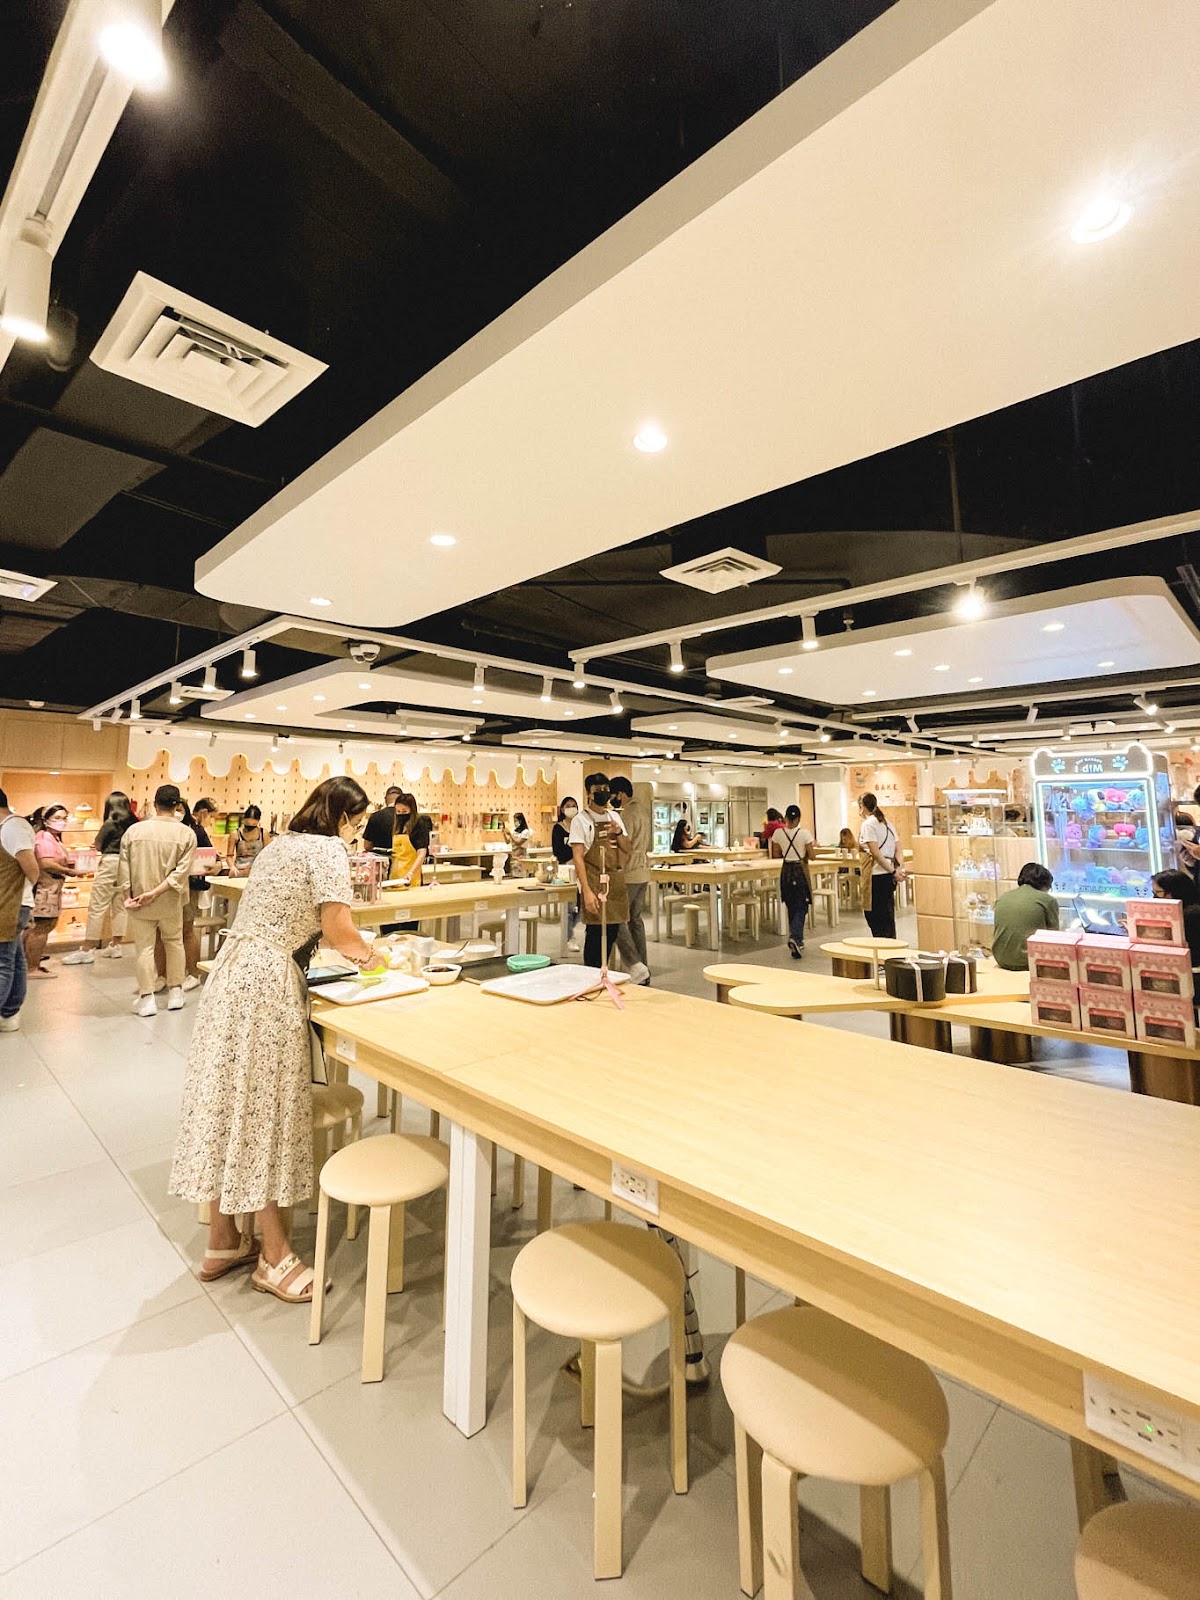
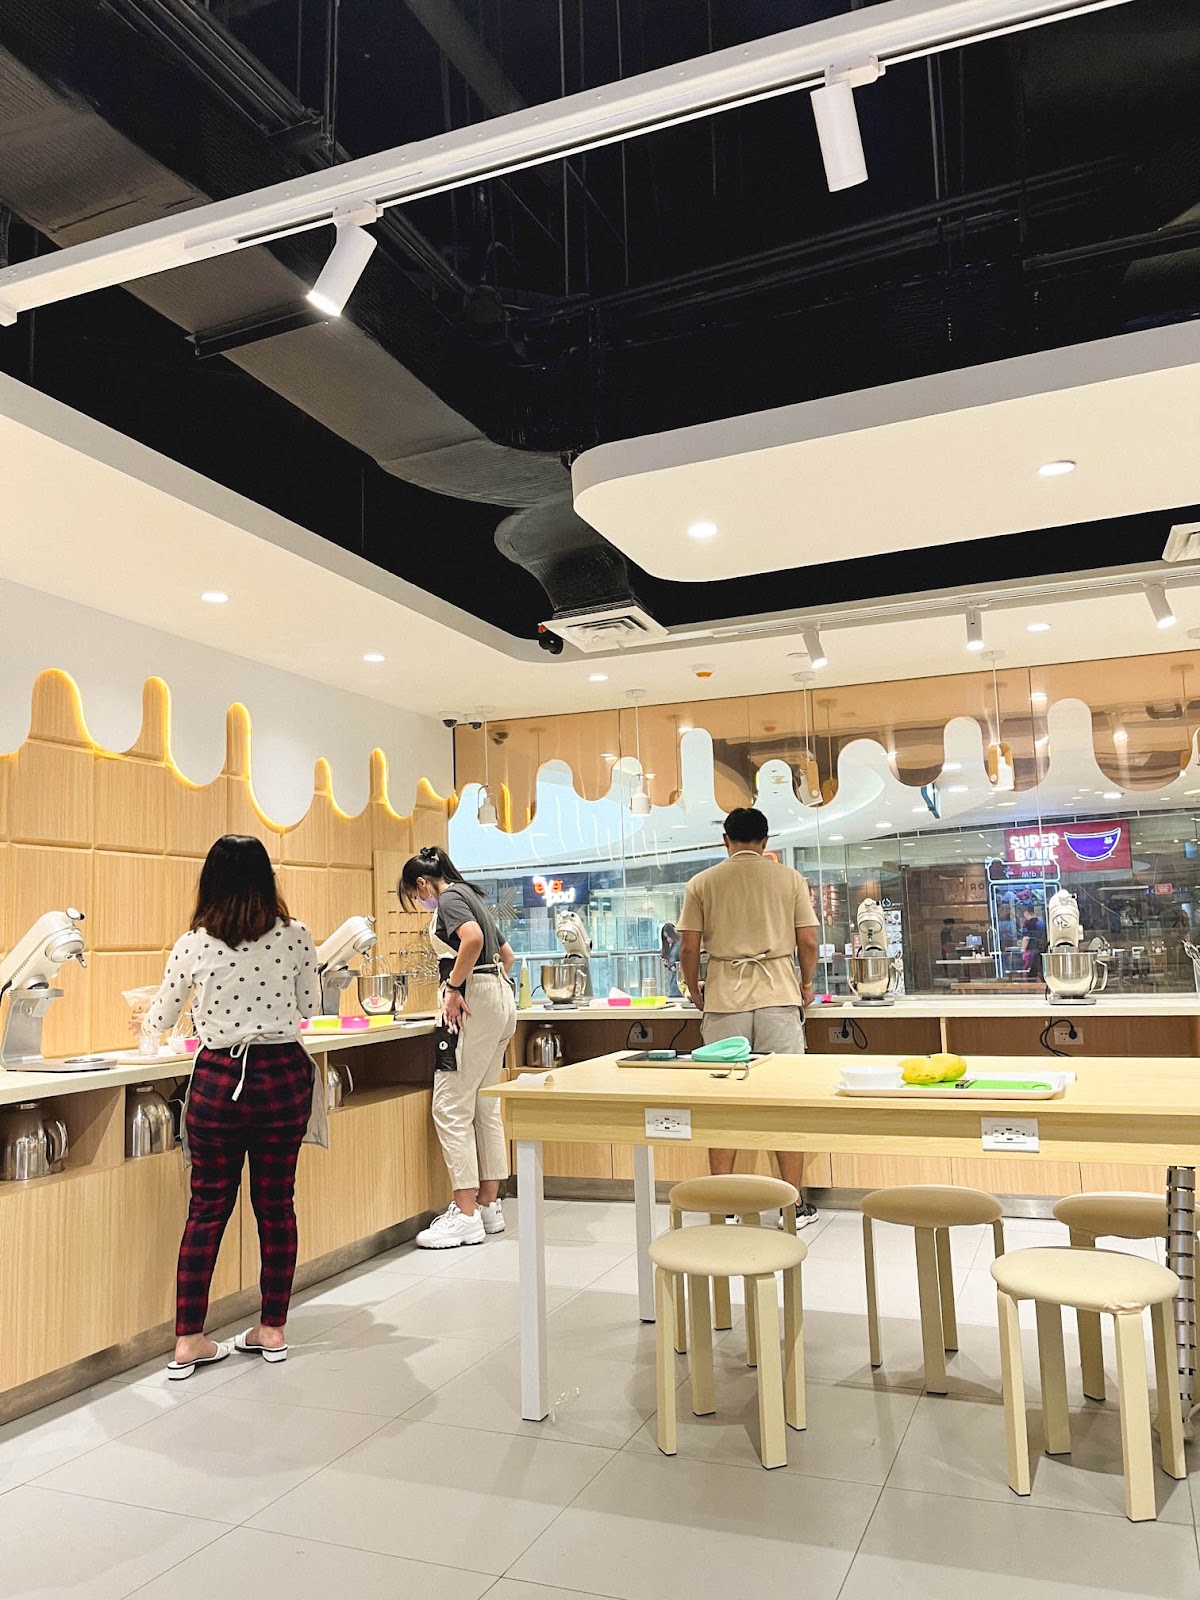
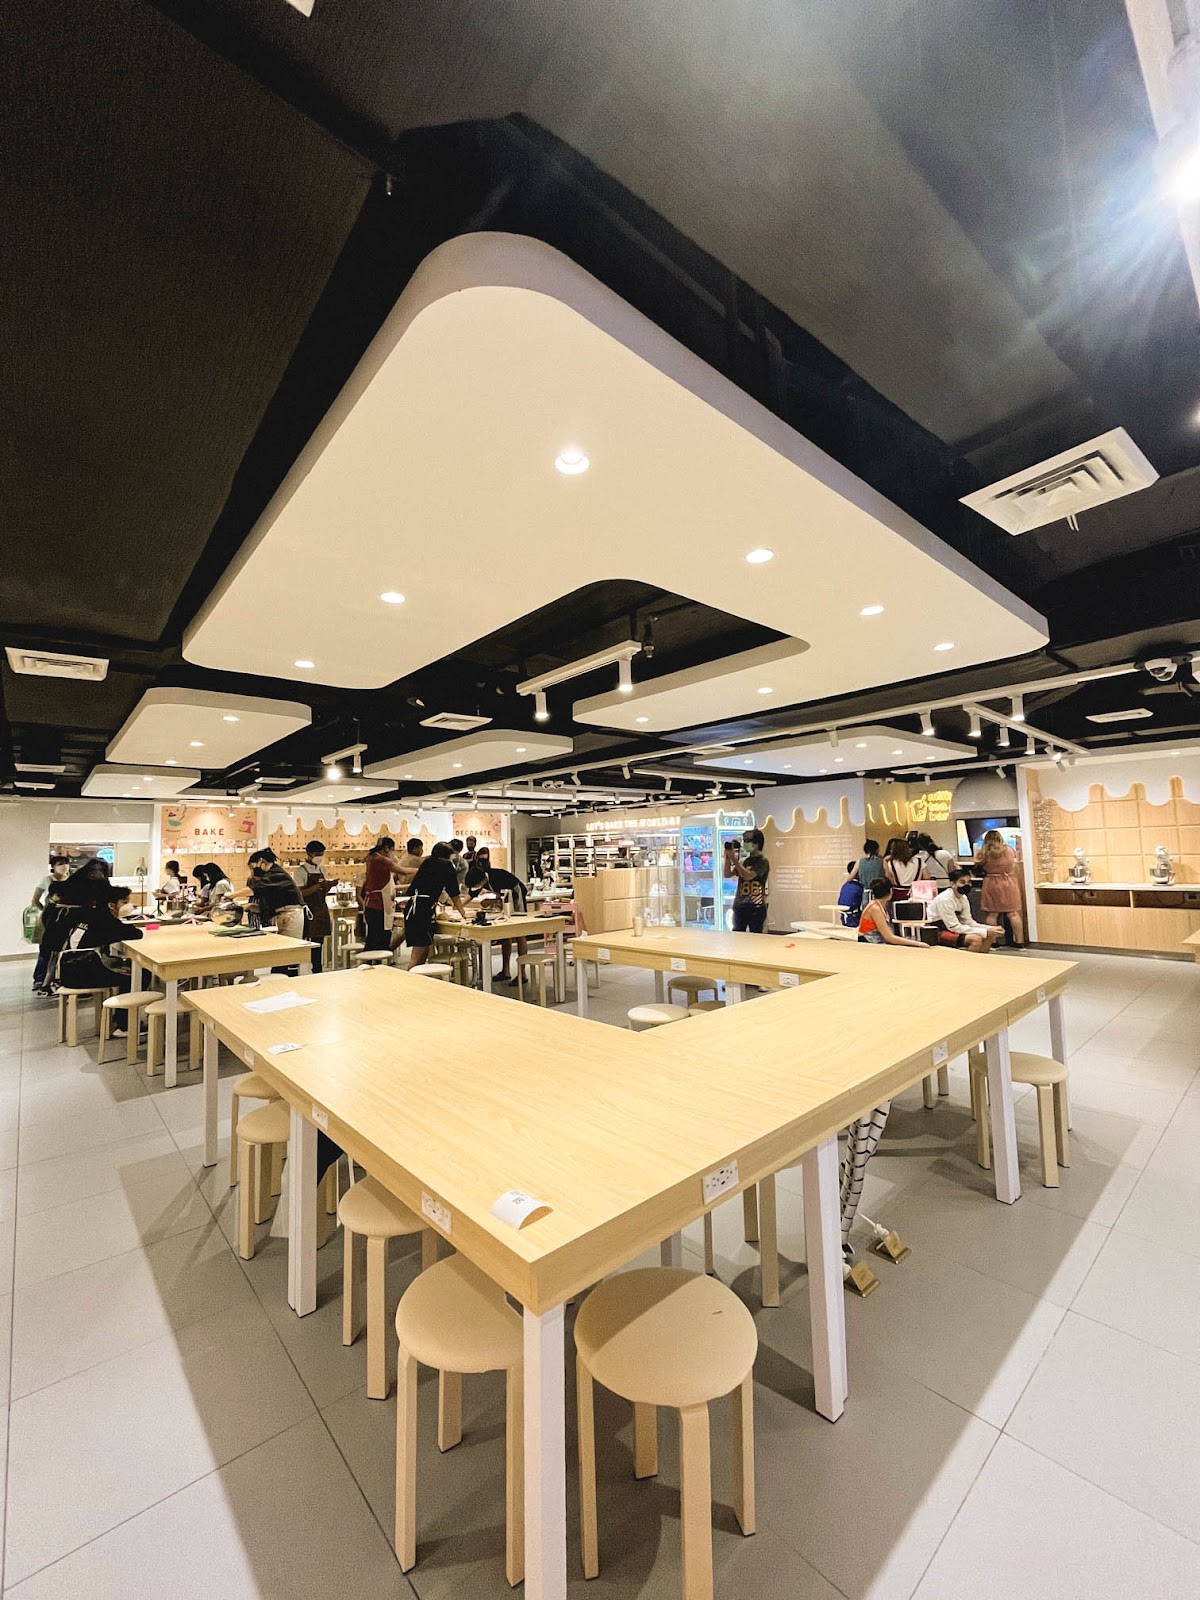
Taking in the space
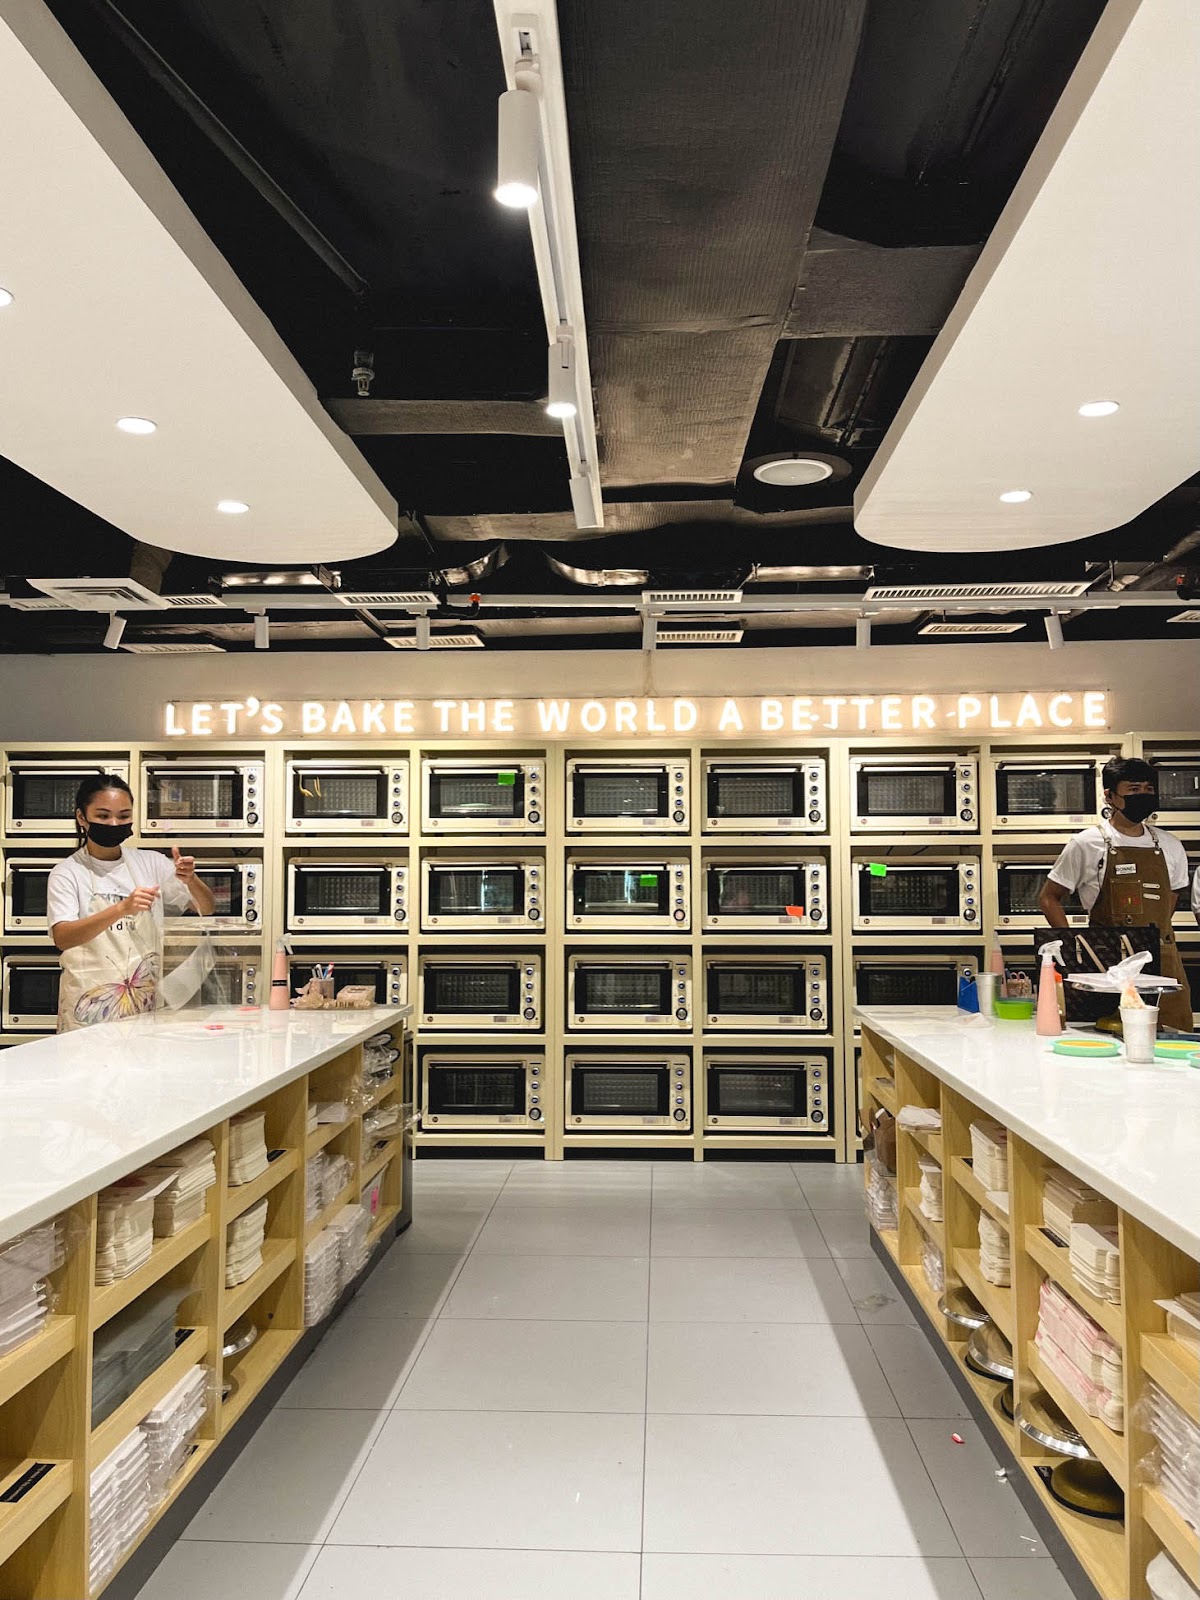
The studio’s interior is open-concept, allowing you to see every area of the white and wood-themed space. The Instagrammable corners look like something out of a Food Network baking show, complete with good, bright lighting and neon-light signs.
Once you enter, you’ll be greeted by the receiving desk where you will already choose the cake you want to make. The confections start at P500 up to P1,699, depending on the complexity and ingredients of the cake. You can choose among a wide selection of classic cakes, chocolate cakes, cheesecakes, fruitcakes, matcha cakes, cookies, and other pastries. They also have seasonal and limited edition cakes that fall on the pricier side.
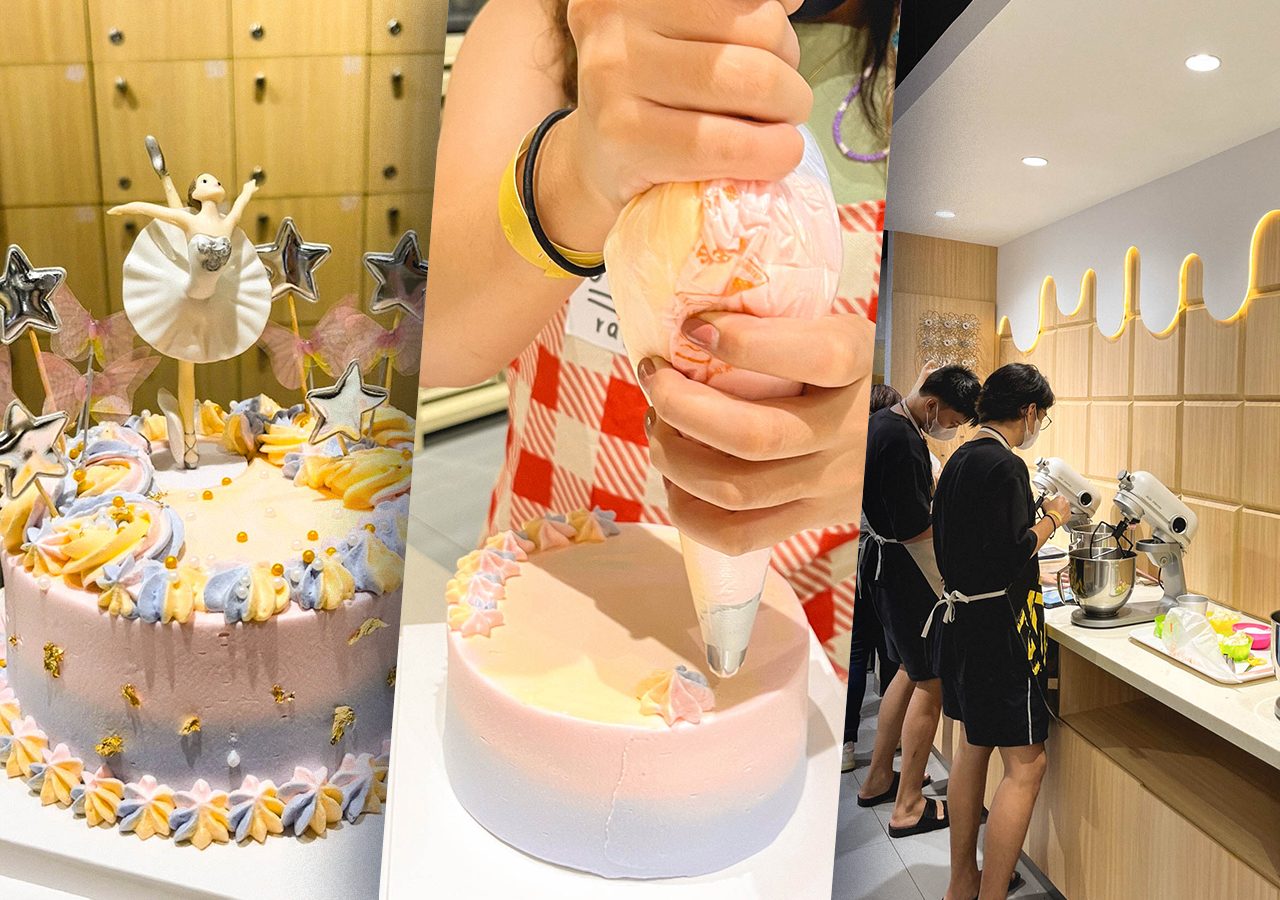
For our visit, we chose the Dreamy Wonderland (P1,299) decorated cake, because how could we say no to dreamy unicorn vibes? Inclusive of the cake’s price is the rest of the baking experience, which includes all ingredients, baking materials, decorations, and staff assistance. Each cake can be made by a pair under two hours in the studio.
We were also given keys to a locker where we could store our personal belongings before baking.
Ready, set, bake!
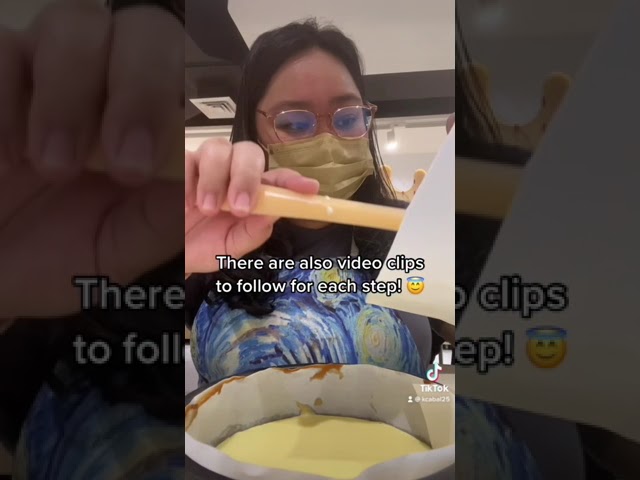
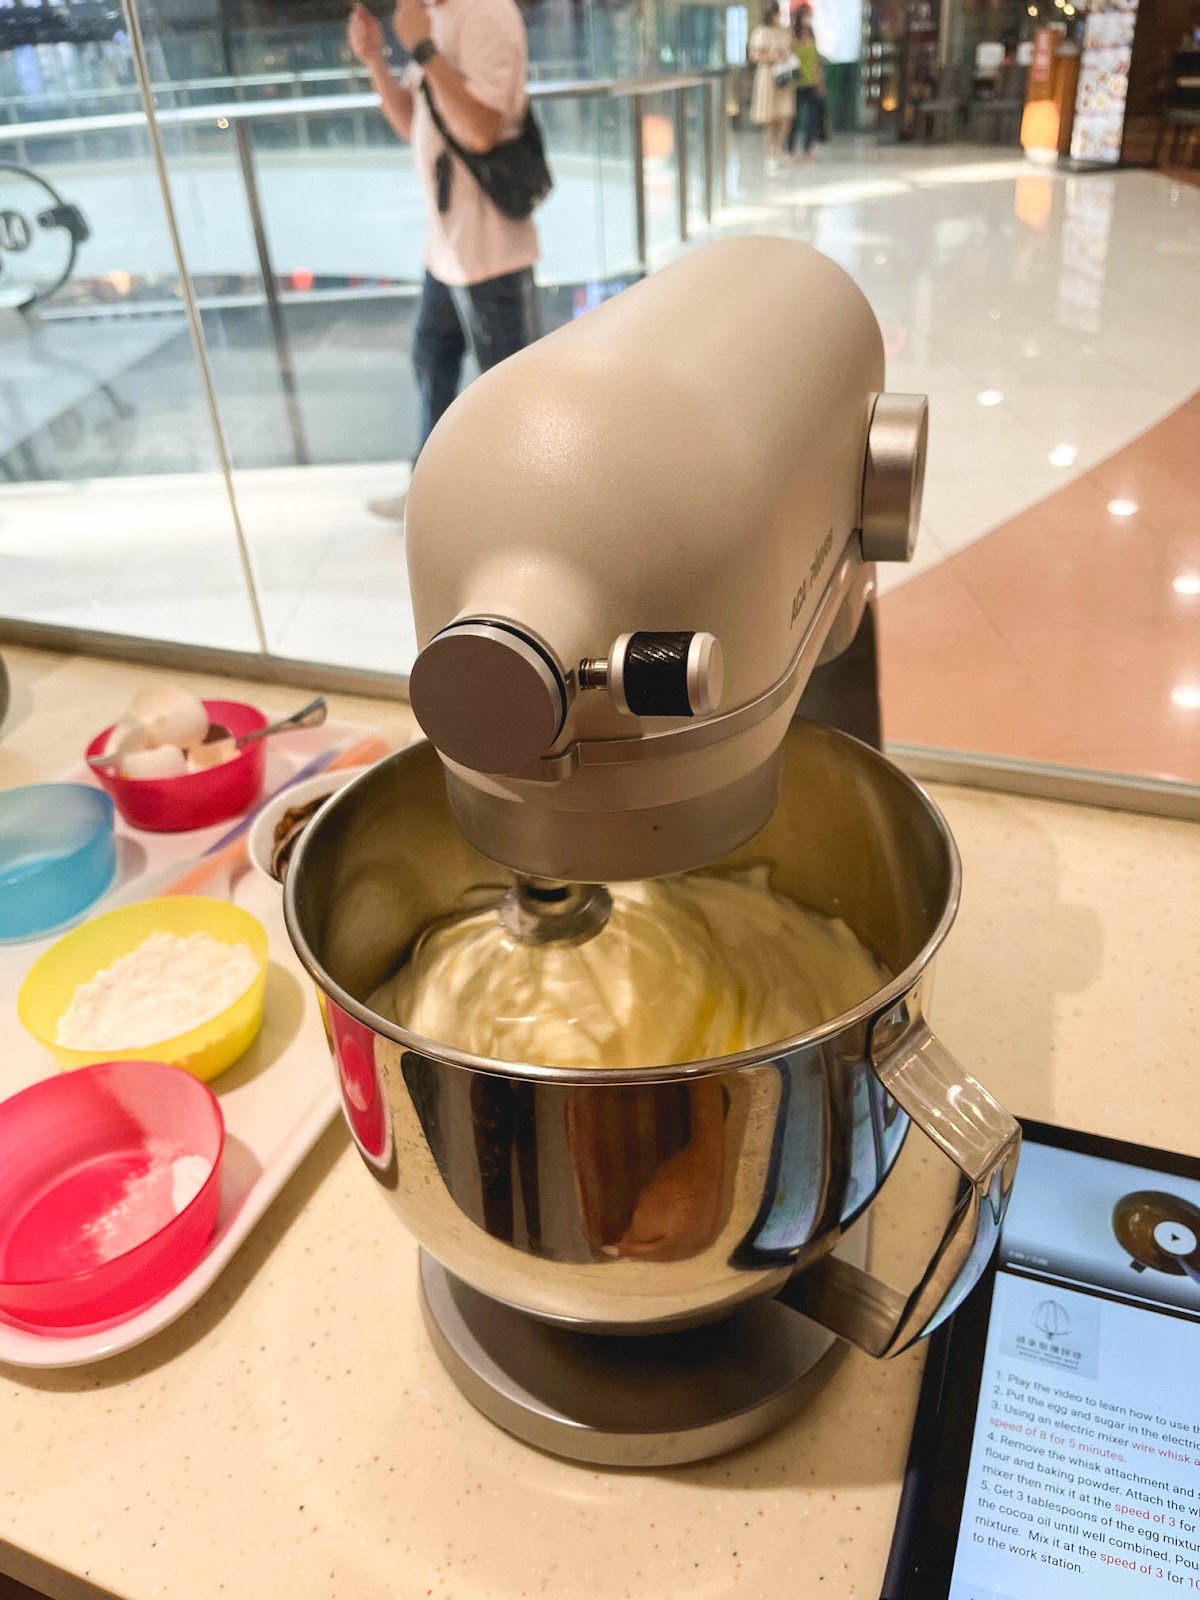
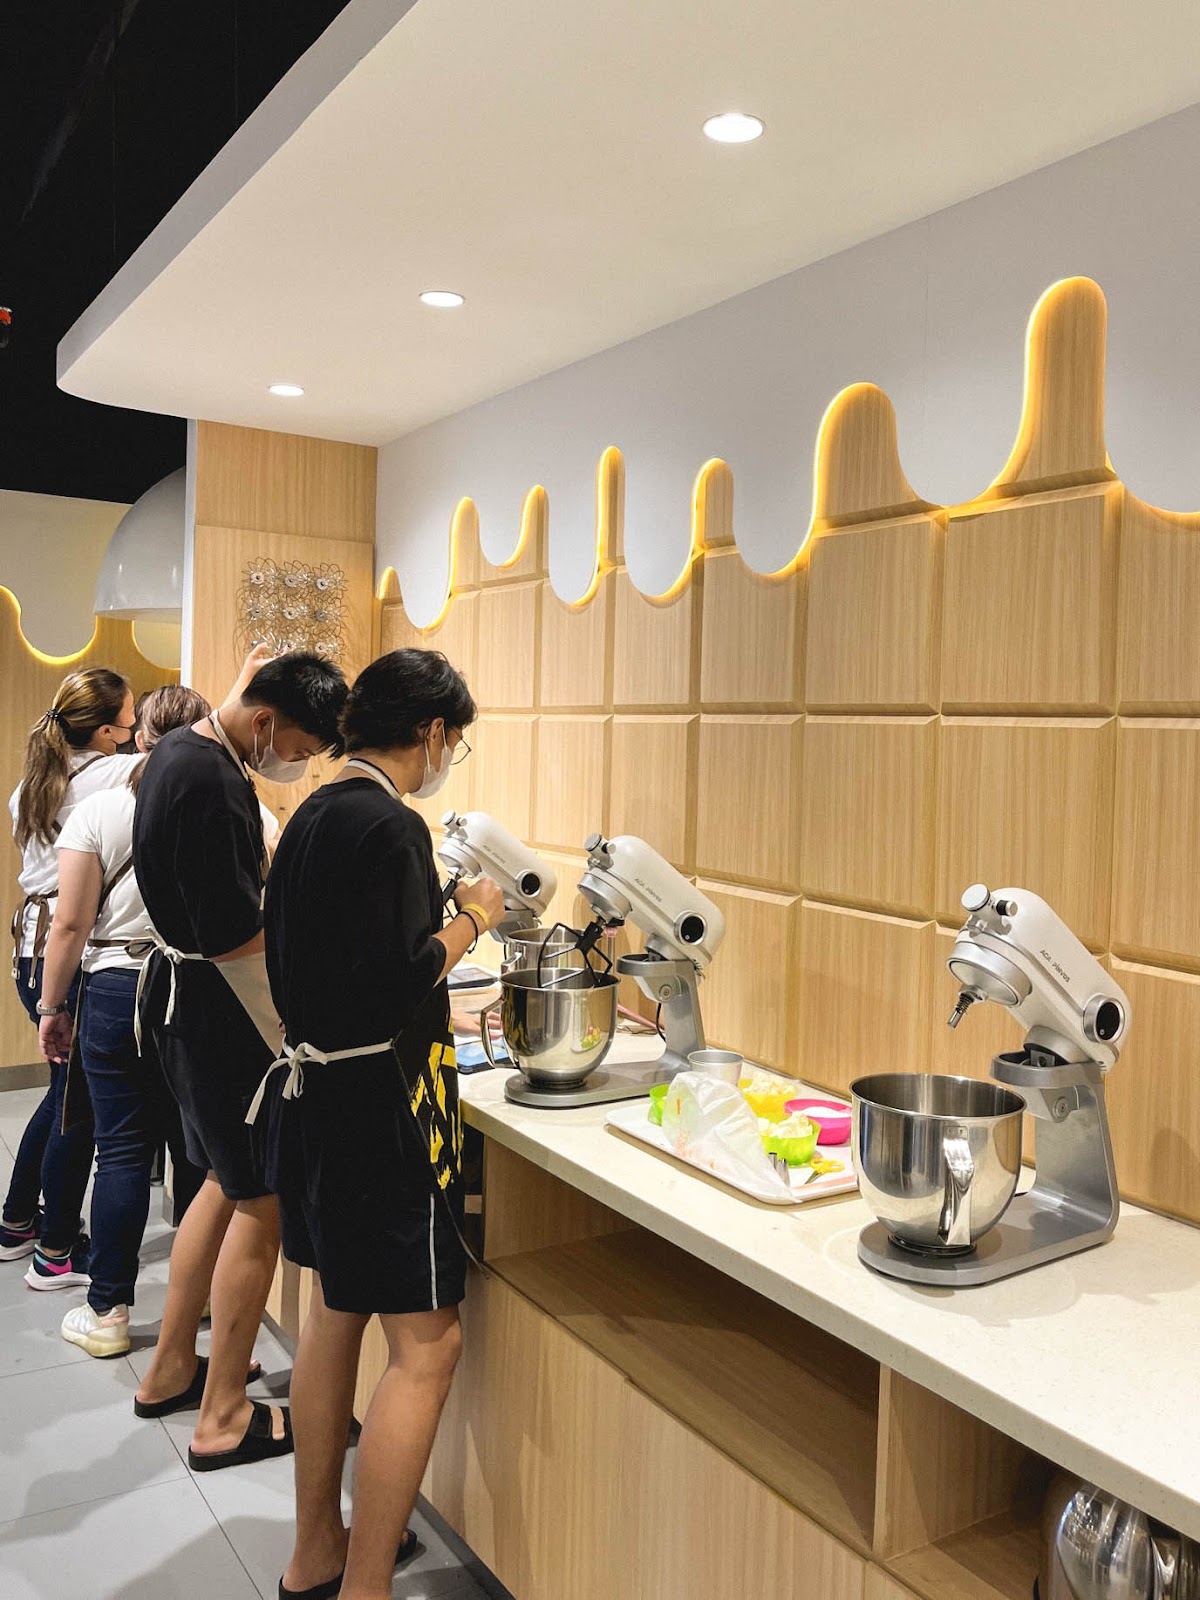
Before anything else, you have to wash your hands and choose an IDIM apron to keep your OOTD clean! Once you settle down in your comfy space at the massive working tables, the staff will hand you an electronic tablet containing the step-by-step recipe for cake. You’re all set!
Don’t worry if you’re a first-time baker like me, because the instructions in the guide are very easy to follow. They specify the exact measurements, and there are even videos that accompany every step. If you’re unsure of what to do, there are a lot of friendly baking coaches around the studio to give you a hand.
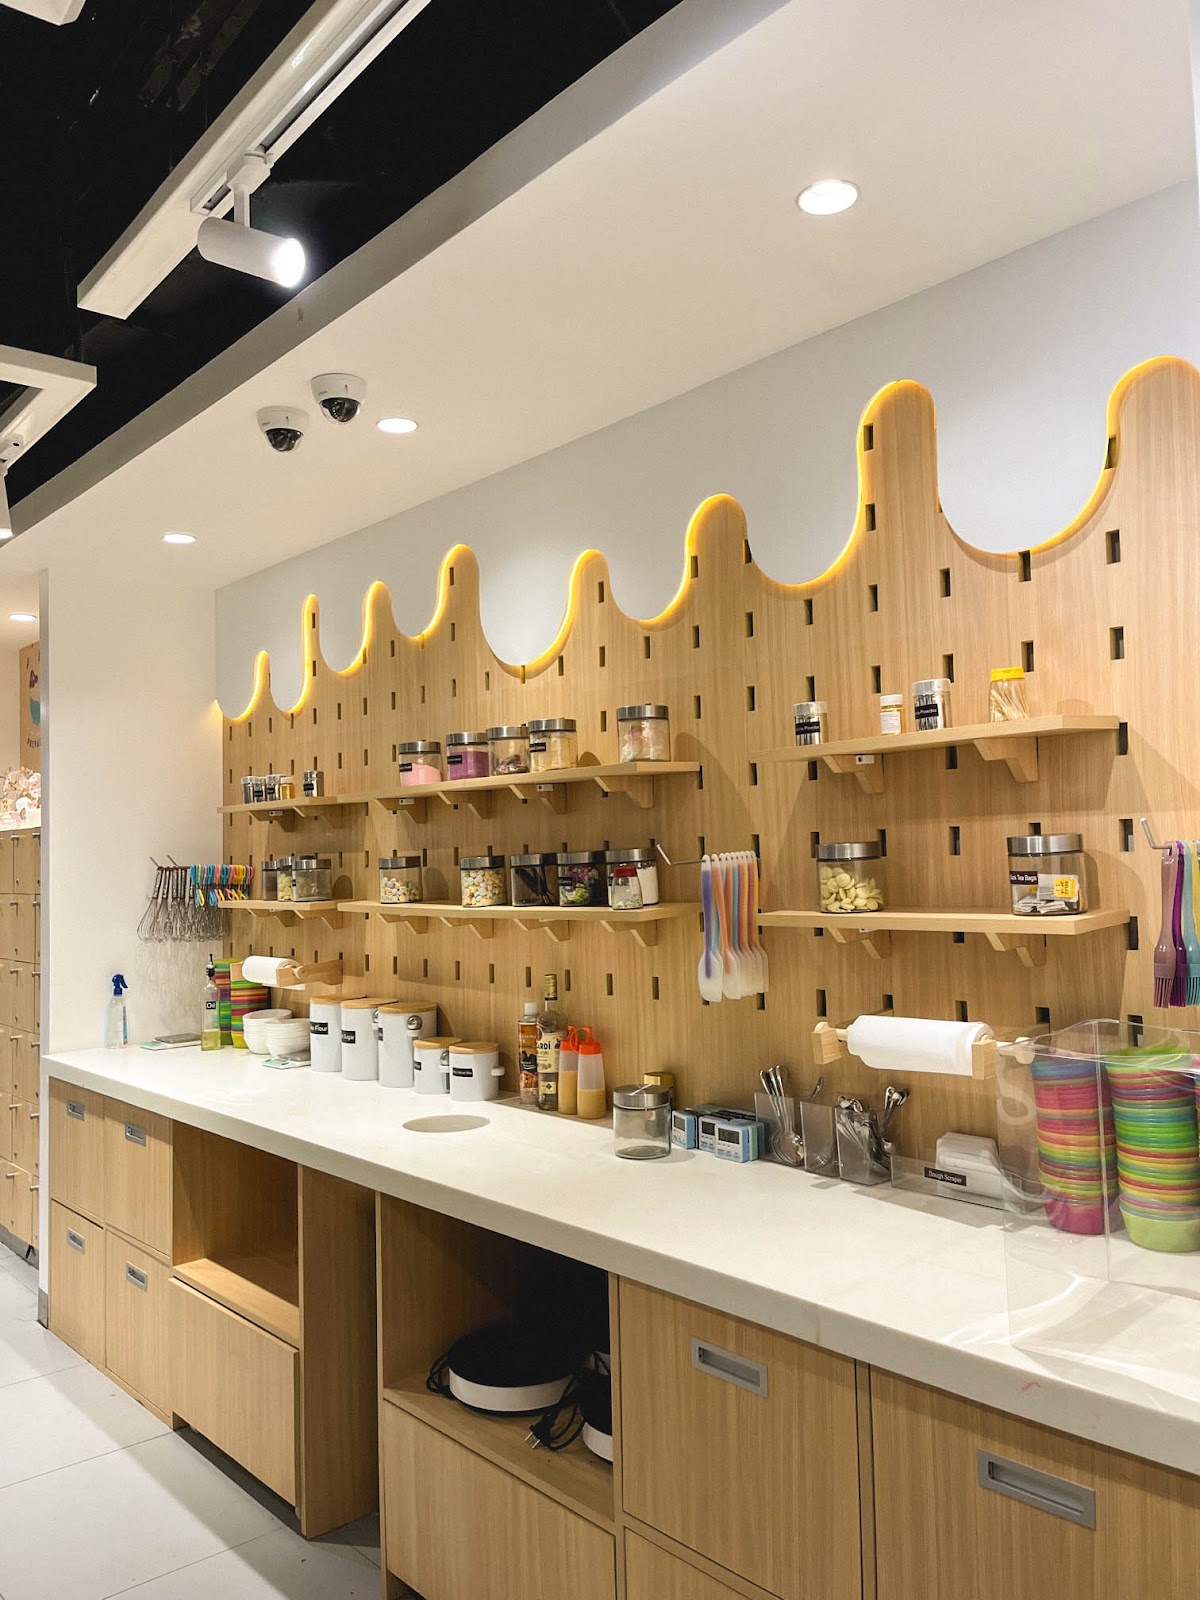
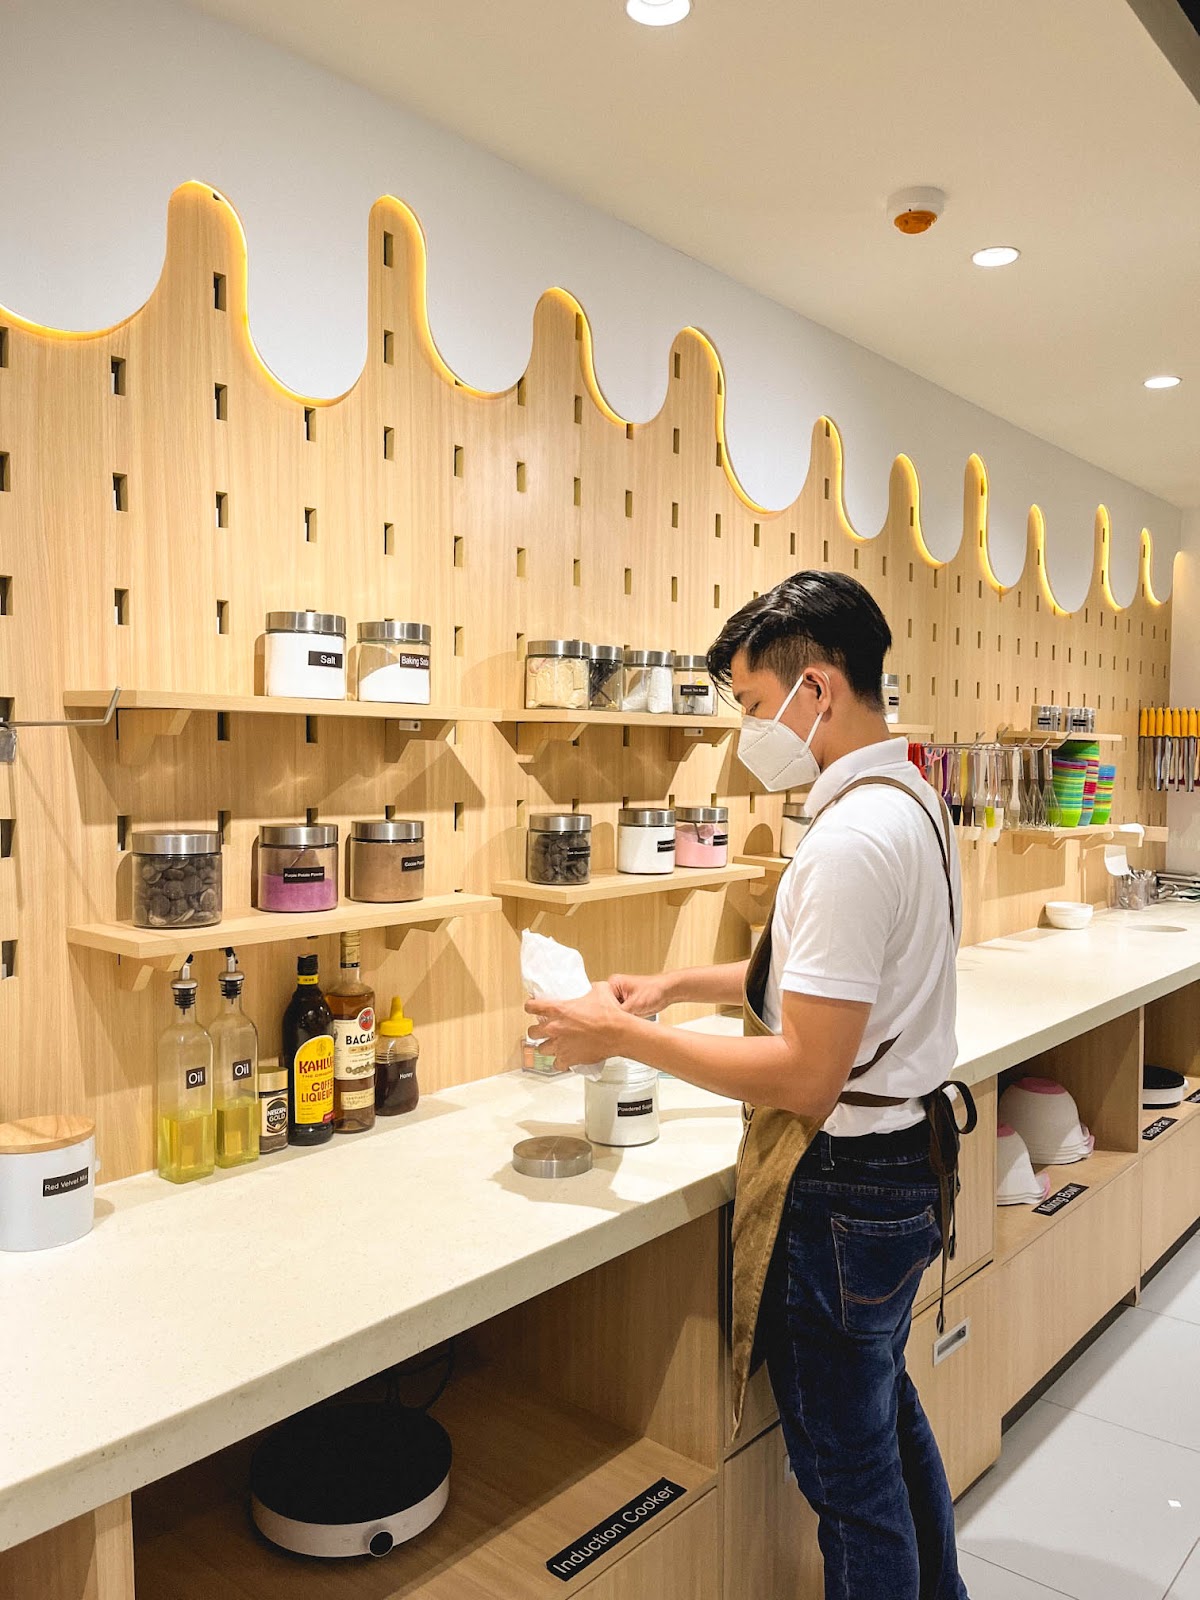
Gathering your ingredients is a walk in the park with IDIM’s stocked baking pantry and sanitized top-notch equipment. Everything you need is within reach as if you’re in the Is it Cake? or Nailed It! kitchen. You’d want to make sure that you’re getting the measurements on point though, to avoid any baking epic fails!
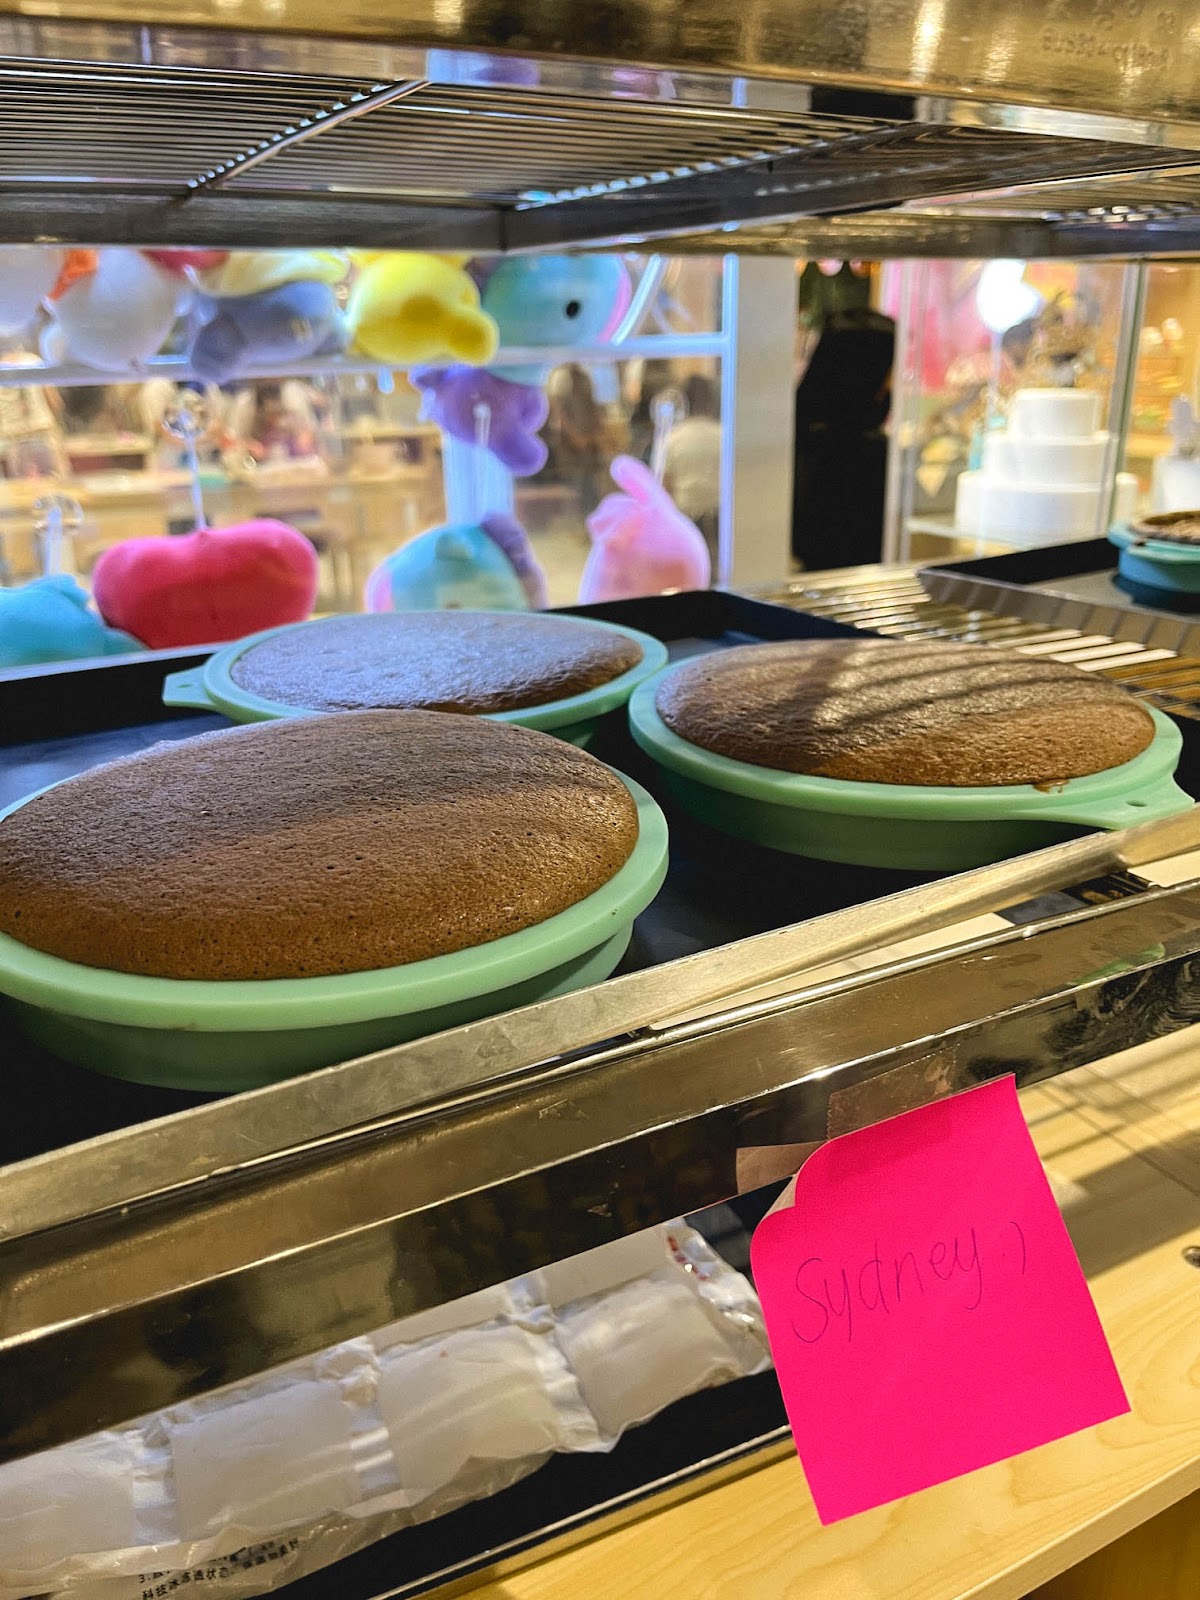
After prepping your dry ingredients, you have to cross the studio to get to the mixing area where you’ll be taught how to use the electric mixer for your batter. Then, you can proceed to the iconic oven wall to bake the cakes. Easy peasy, right?
Milk tea and chill
Letting the oven do its baking magic and waiting for the cakes to cool down can take about 20 to 30 minutes, depending on your pastry of choice. This is the perfect time to sit back, relax, and whip up your own milk tea!
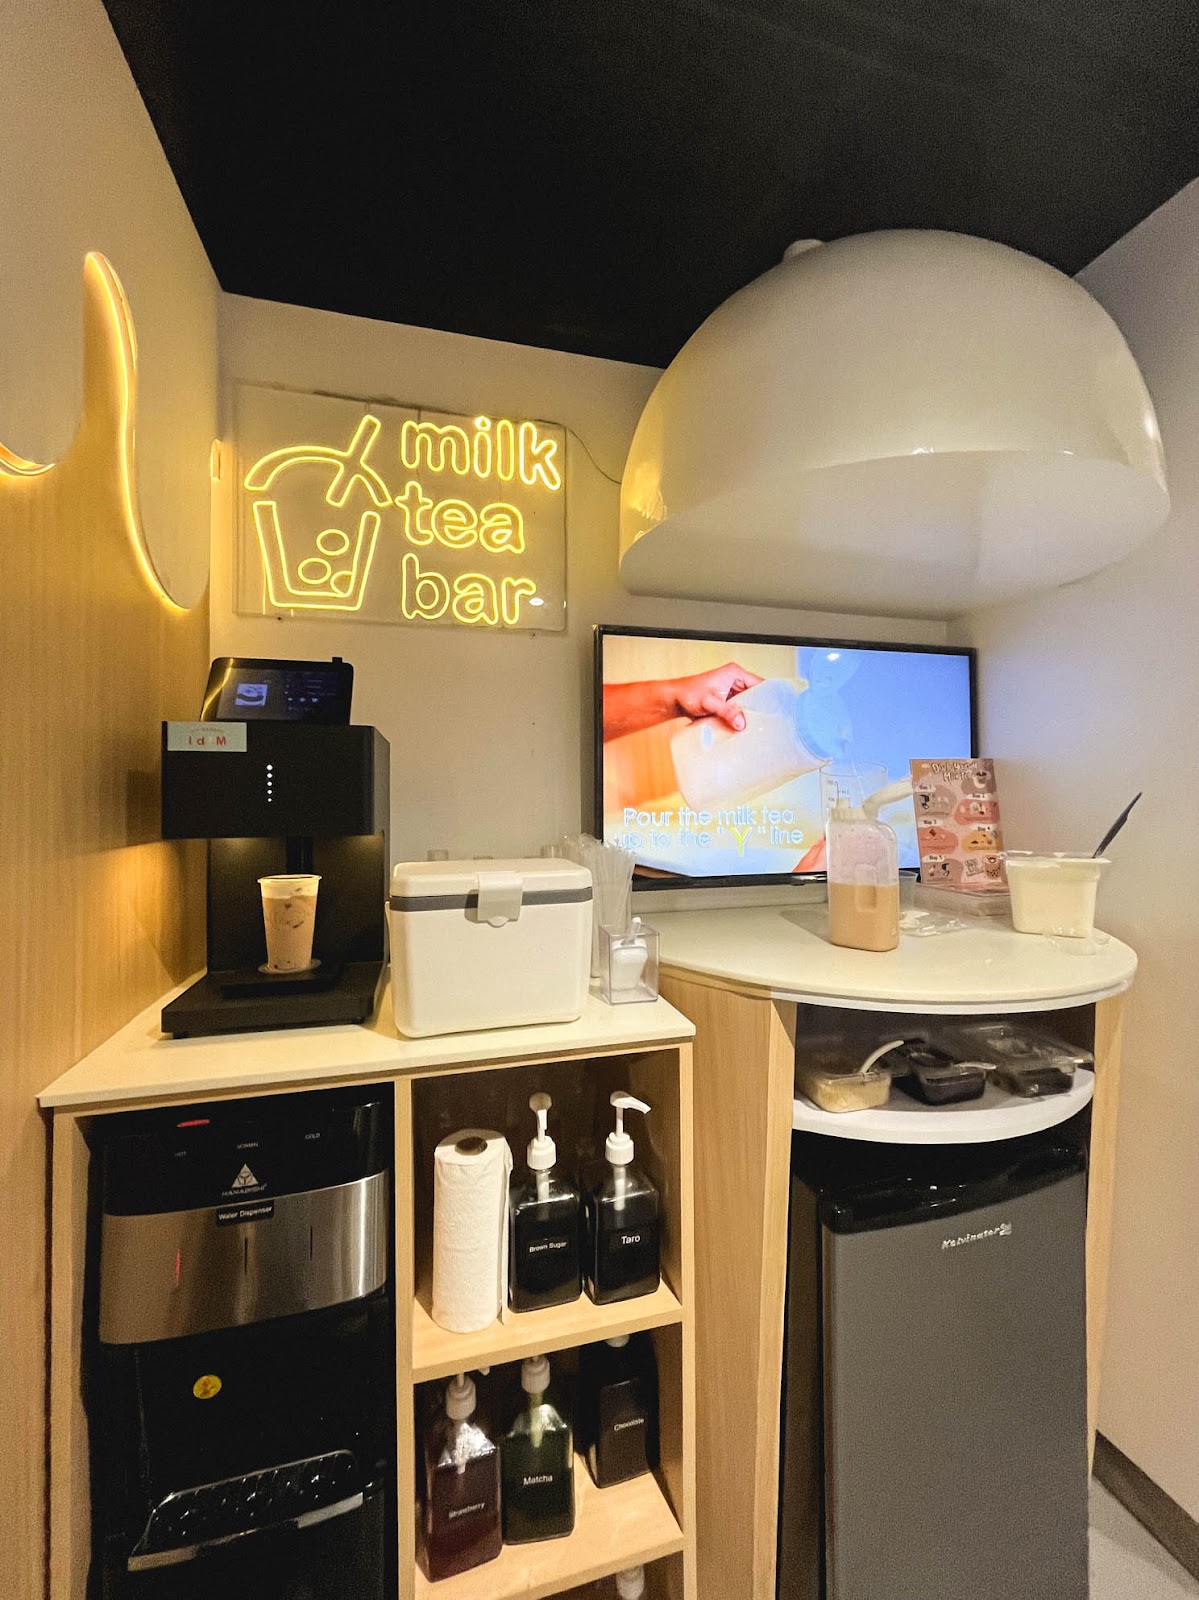
In the beverage area, bakers can also be baristas for a day and make their own complimentary drinks. For your milk tea base, you can choose between brown sugar, taro, strawberry, matcha, or chocolate syrup and shake it up with ice using the shaker. Afterwards, you can add your sinkers – either mochi, brown sugar jelly, or boba.
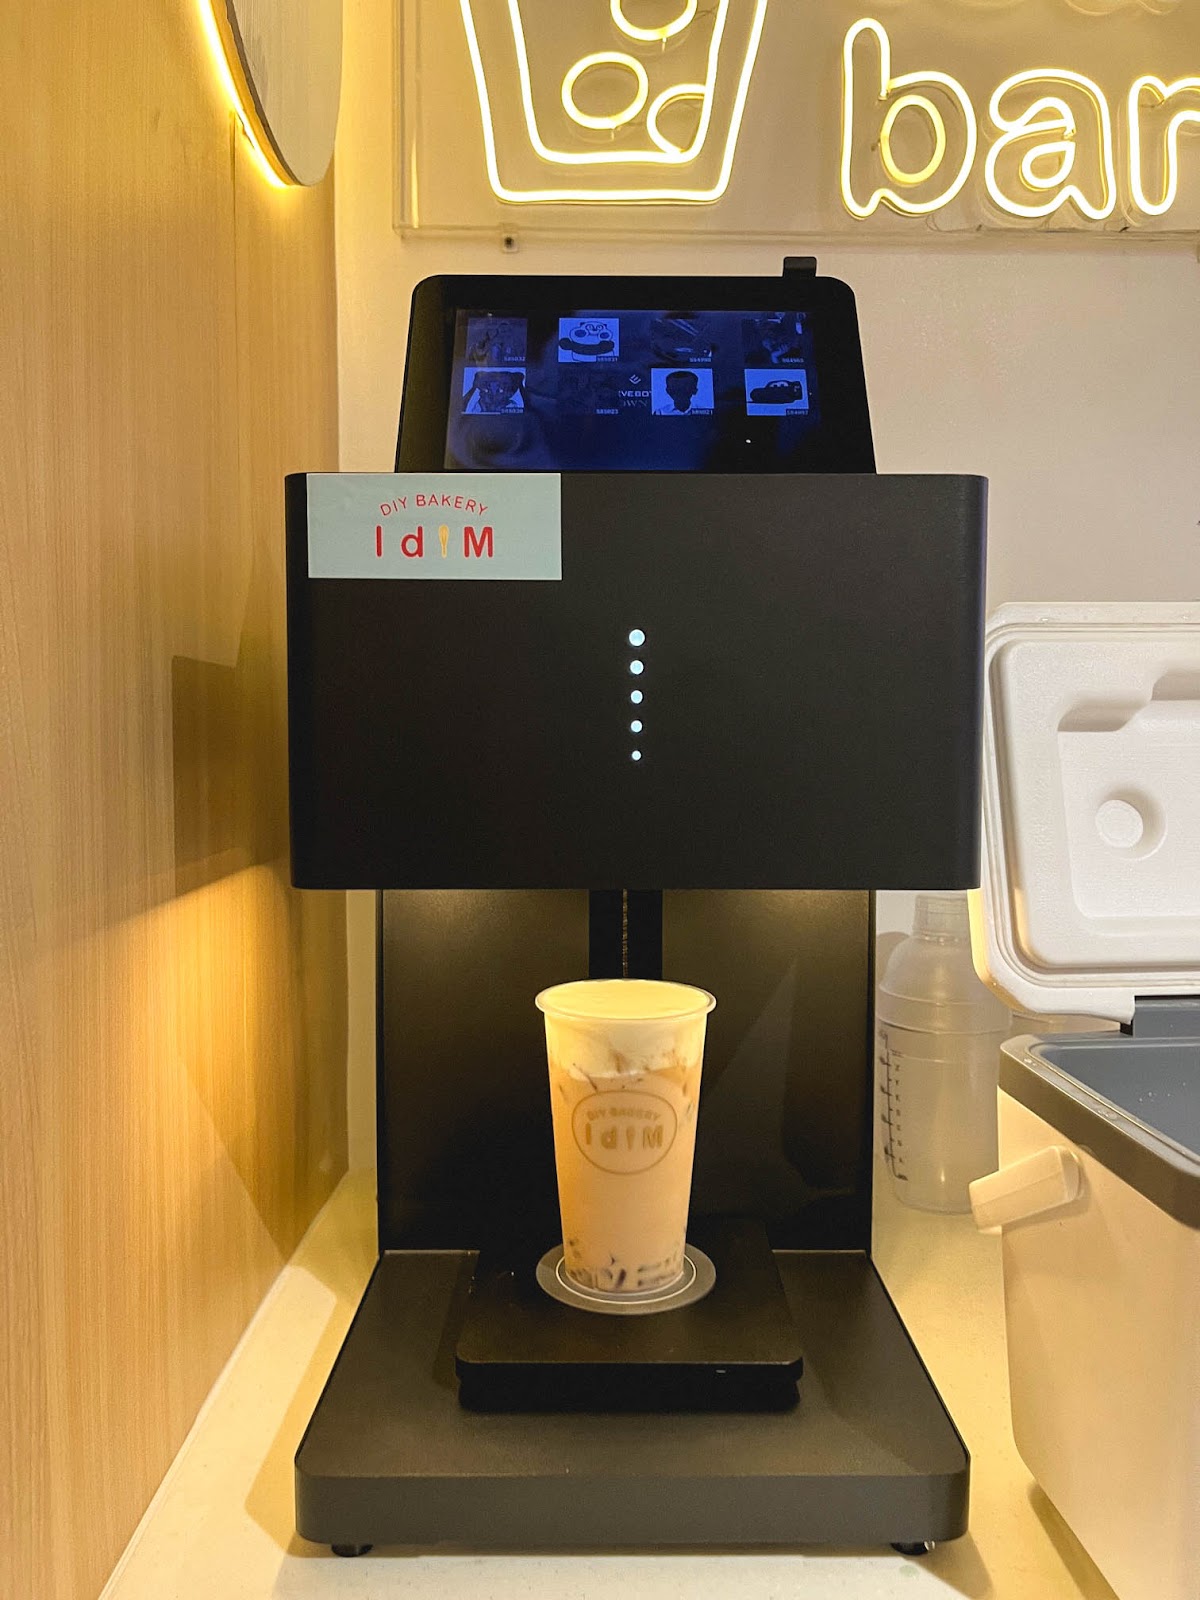
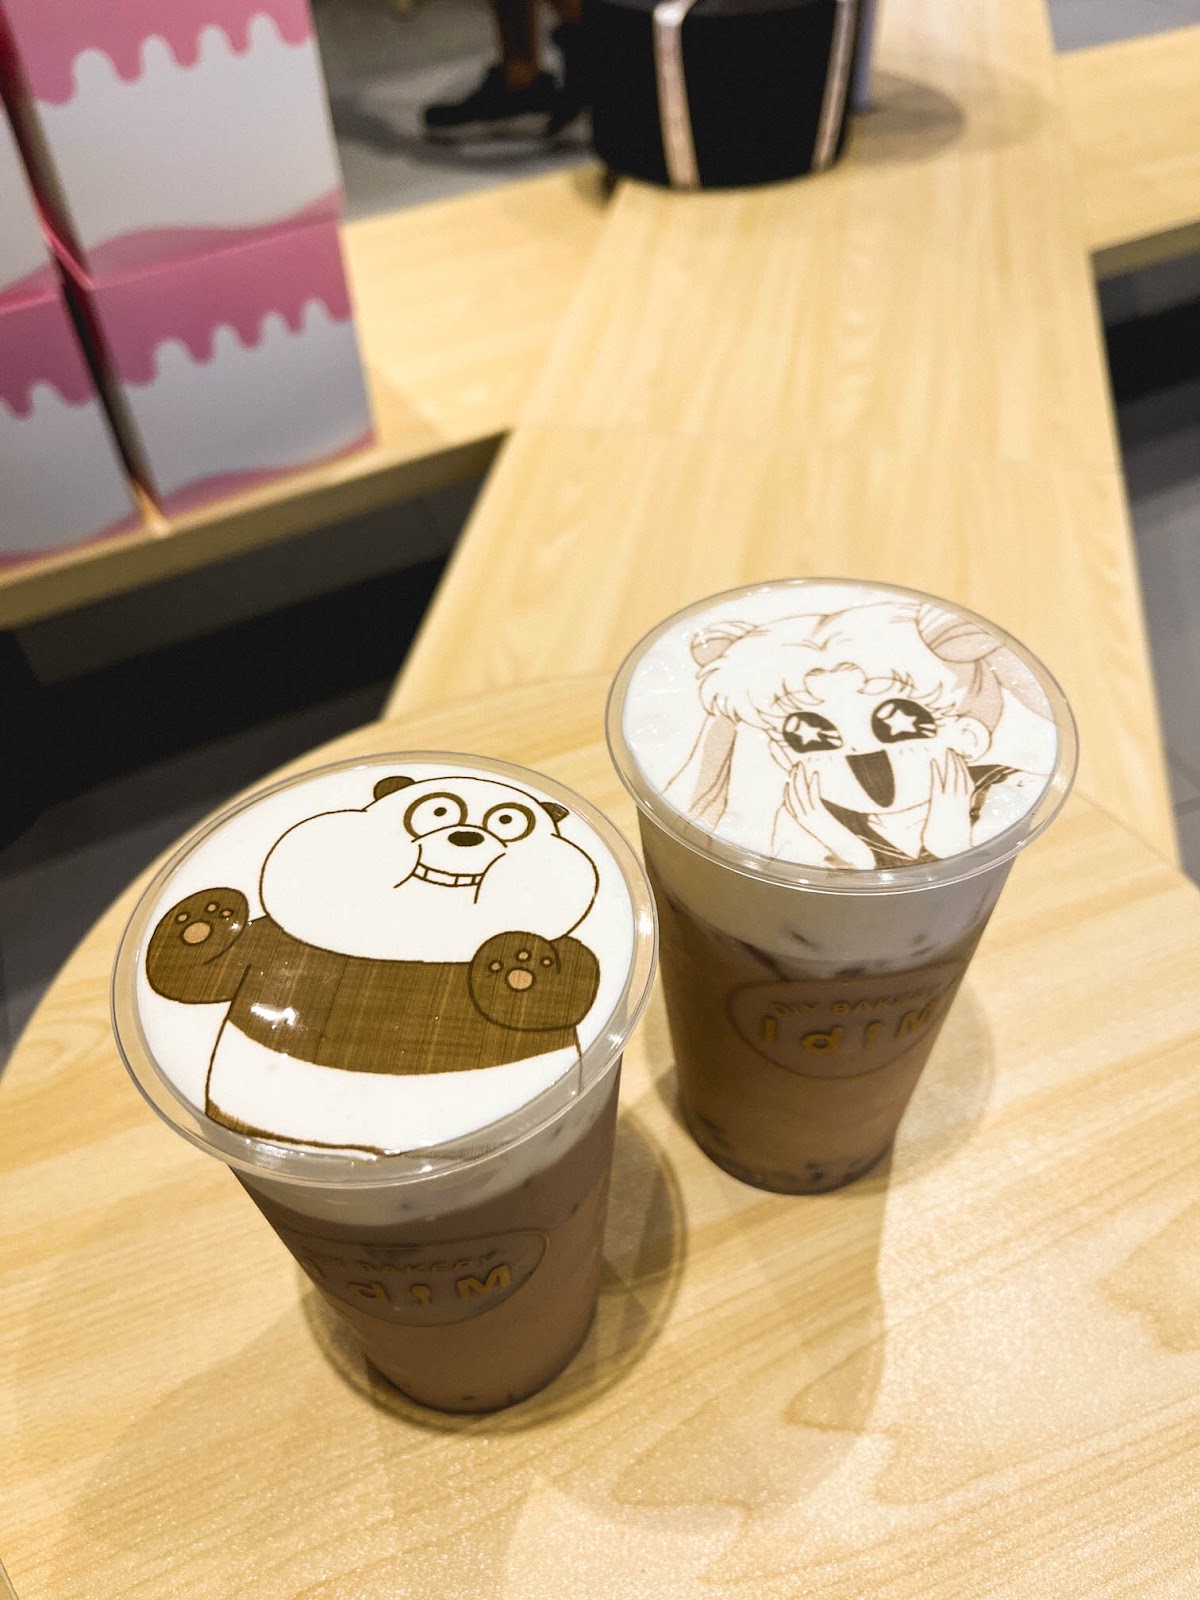
The most exciting part of it all is adding a layer of customized cheese foam on top of your drink! You get to print any photo that you want at the top using their foam printing machine. All you need to do is to scan the QR code and upload a photo from your phone, and it will be printed straight into your milk tea cup. For my brown sugar milk tea, I printed a photo of my favorite character, Usagi from Sailormoon.
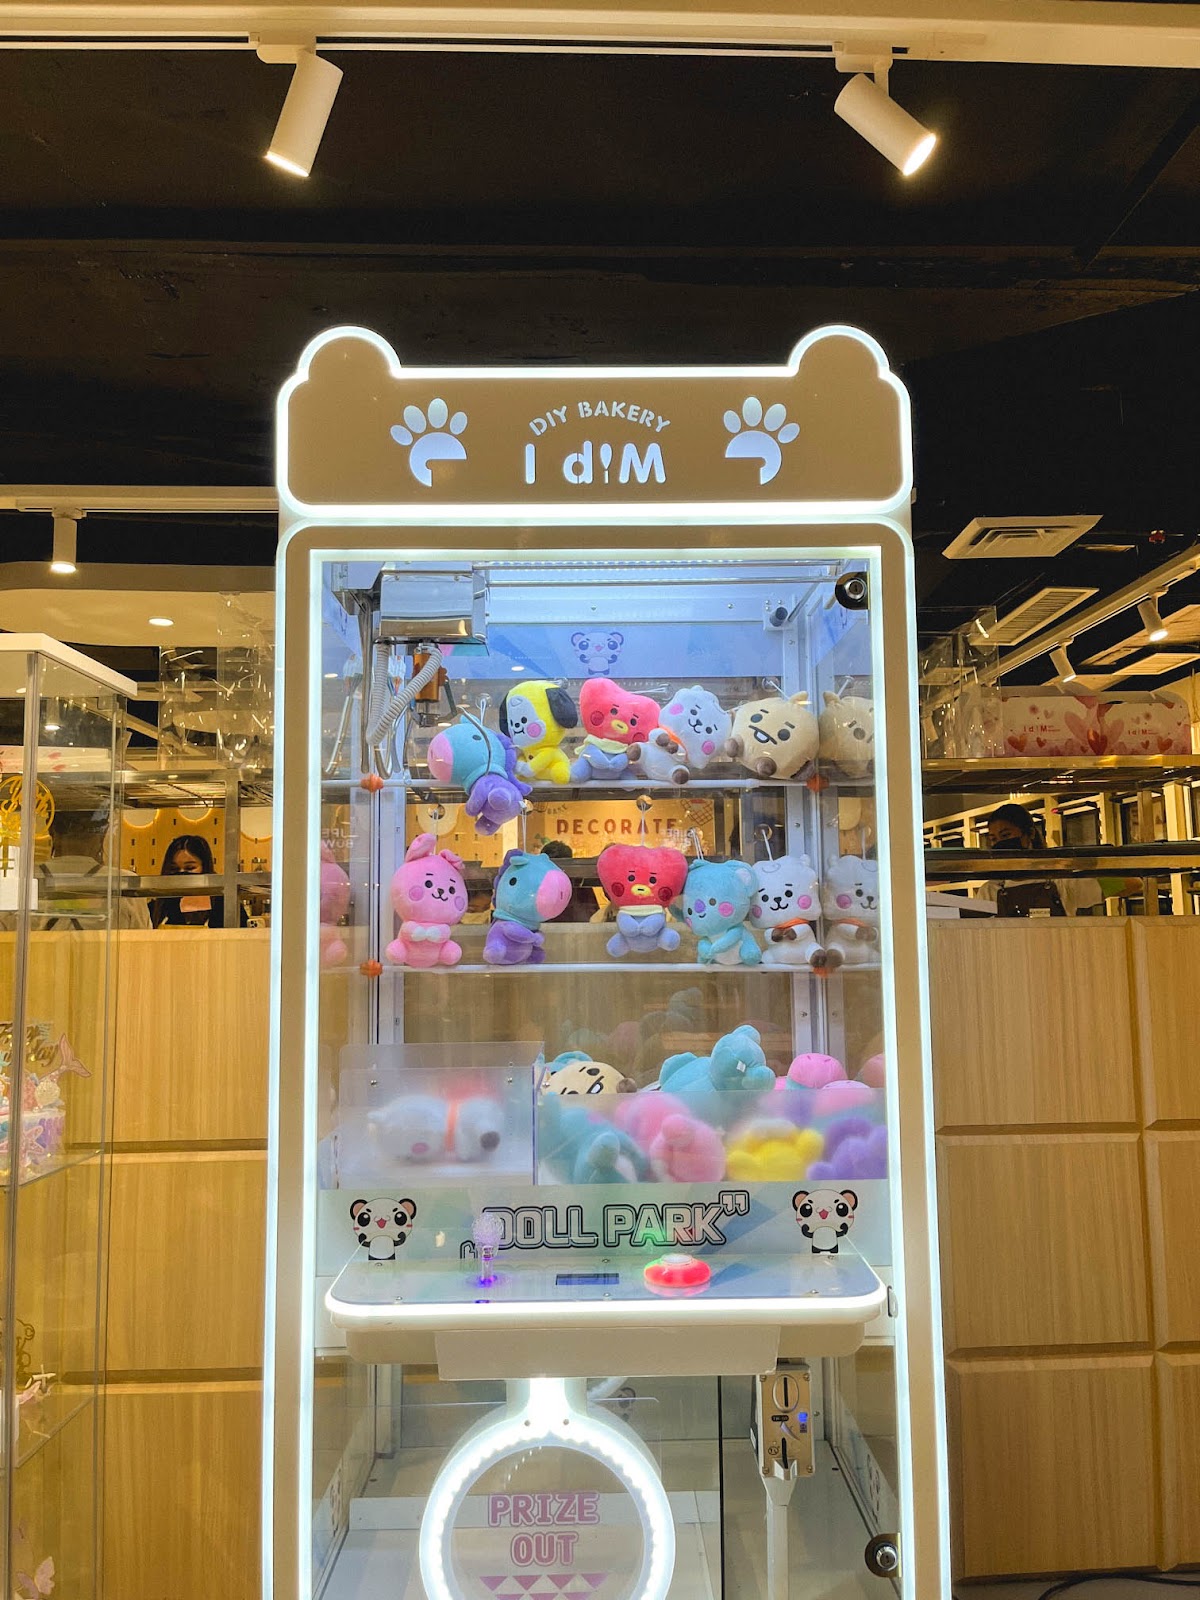
While waiting for my finished product, my friends and I just soaked up the coziness of the space while bopping to pop music, roaming around, and admiring other people’s works. You also don’t have to worry about cleanup, because the staff can help put away unneeded things in an instant. If you’re up for it, there’s also a claw machine where you can win some cute plushies.
For the Instagrammers, YouTubers, and TikTokers, IDIM’s gotchu – prior to starting, the staff even lent us a pink phone tripod for hassle-free documentation. Big plus that they even have sockets and USB ports at the tables, just in case you need to charge your devices.
Let’s get creative!
After the cakes have cooled down, we move on to the next part – assembling and decorating! You will have to move to the decor area where the toppings and the cake stands are.
This is the fun part – flexing your creative and artsy muscles. There’s no need to be precise here, because it’s okay if you don’t follow the tablet completely for what your cake will look like.
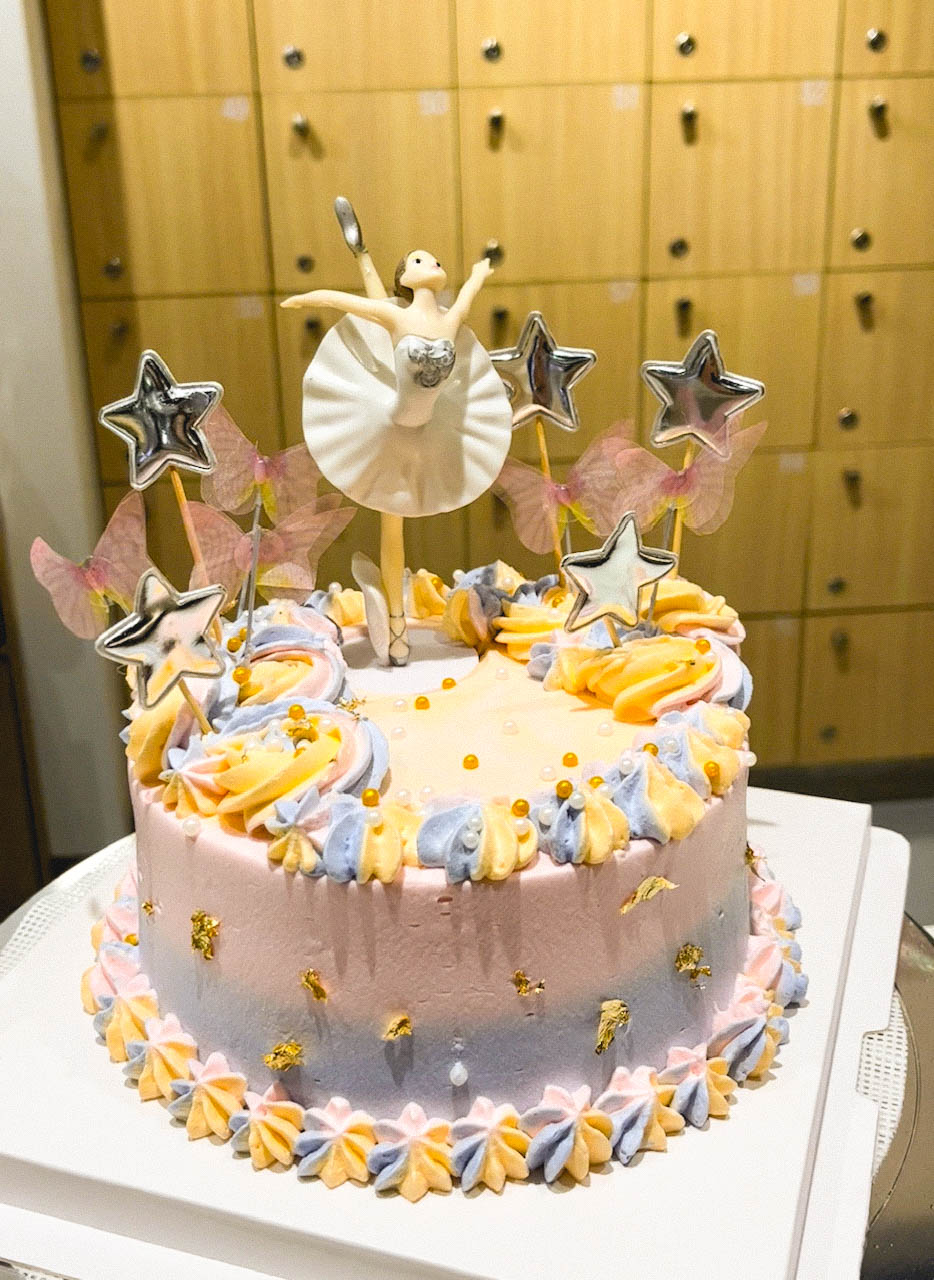
Instead of having two colors for the icing, we opted for three different pastel colors to capture the palette of a sunset sky. I personally wanted my cake to still be inspired by the dreamy concept of our chosen style. You can also customize your flavors according to your taste and preference. Initially, our chocolate cake should have had a blueberry filling, but we swapped it with caramel syrup instead.
When we were assembling the layers, we made a rookie mistake of putting caramel syrup straight into the sponge cake which absorbed it all. Good thing our friendly baking coach caught us in the act, and swooped in to teach us how to do it properly!
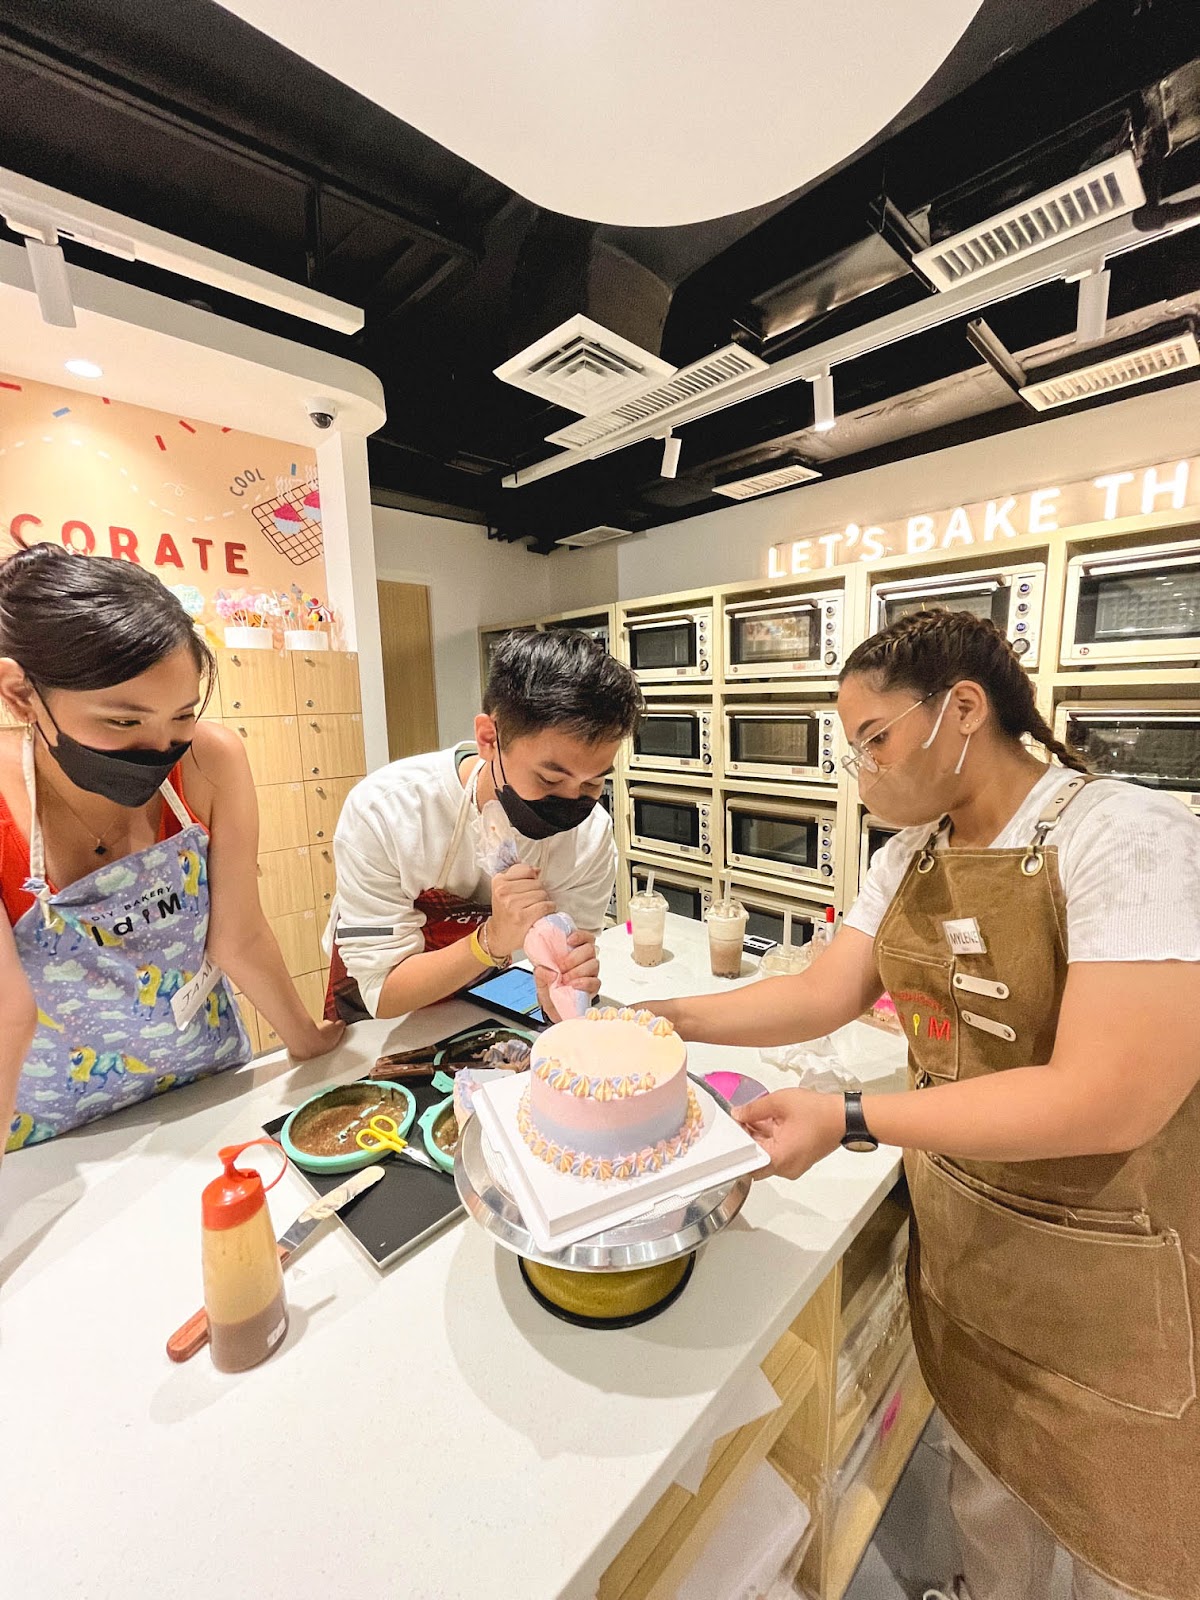
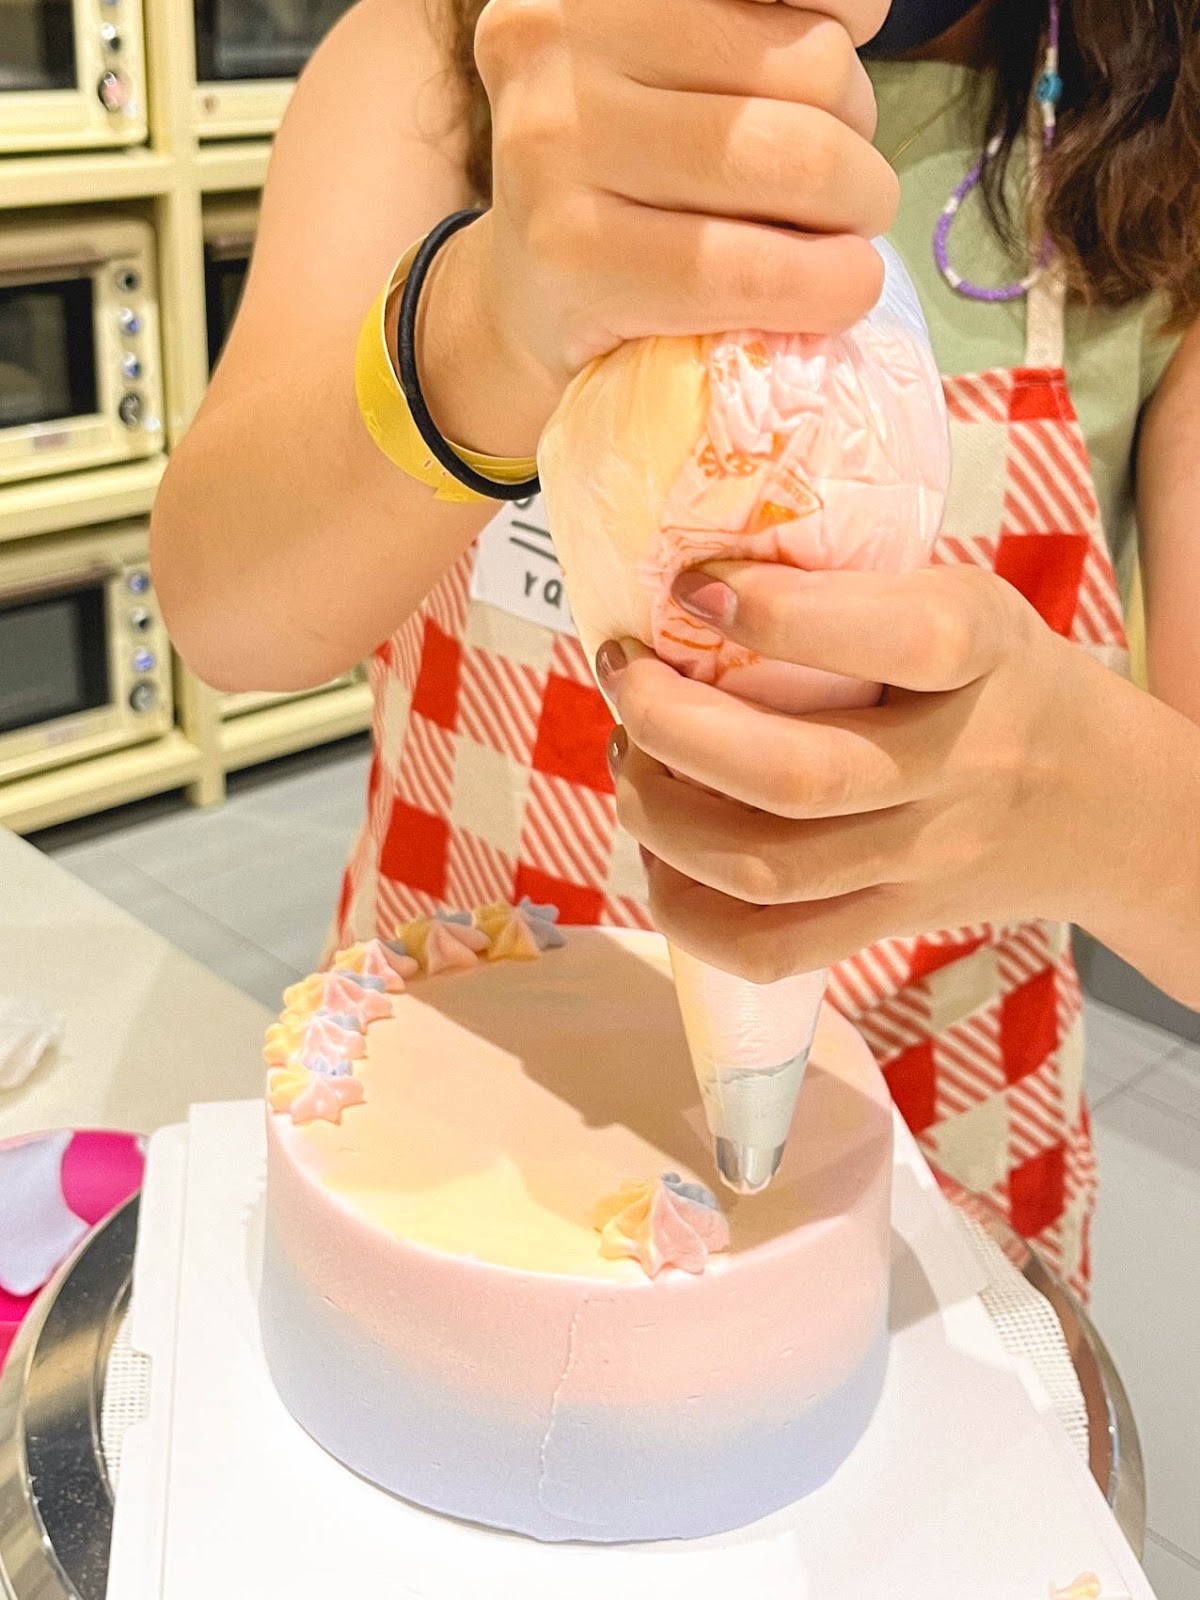
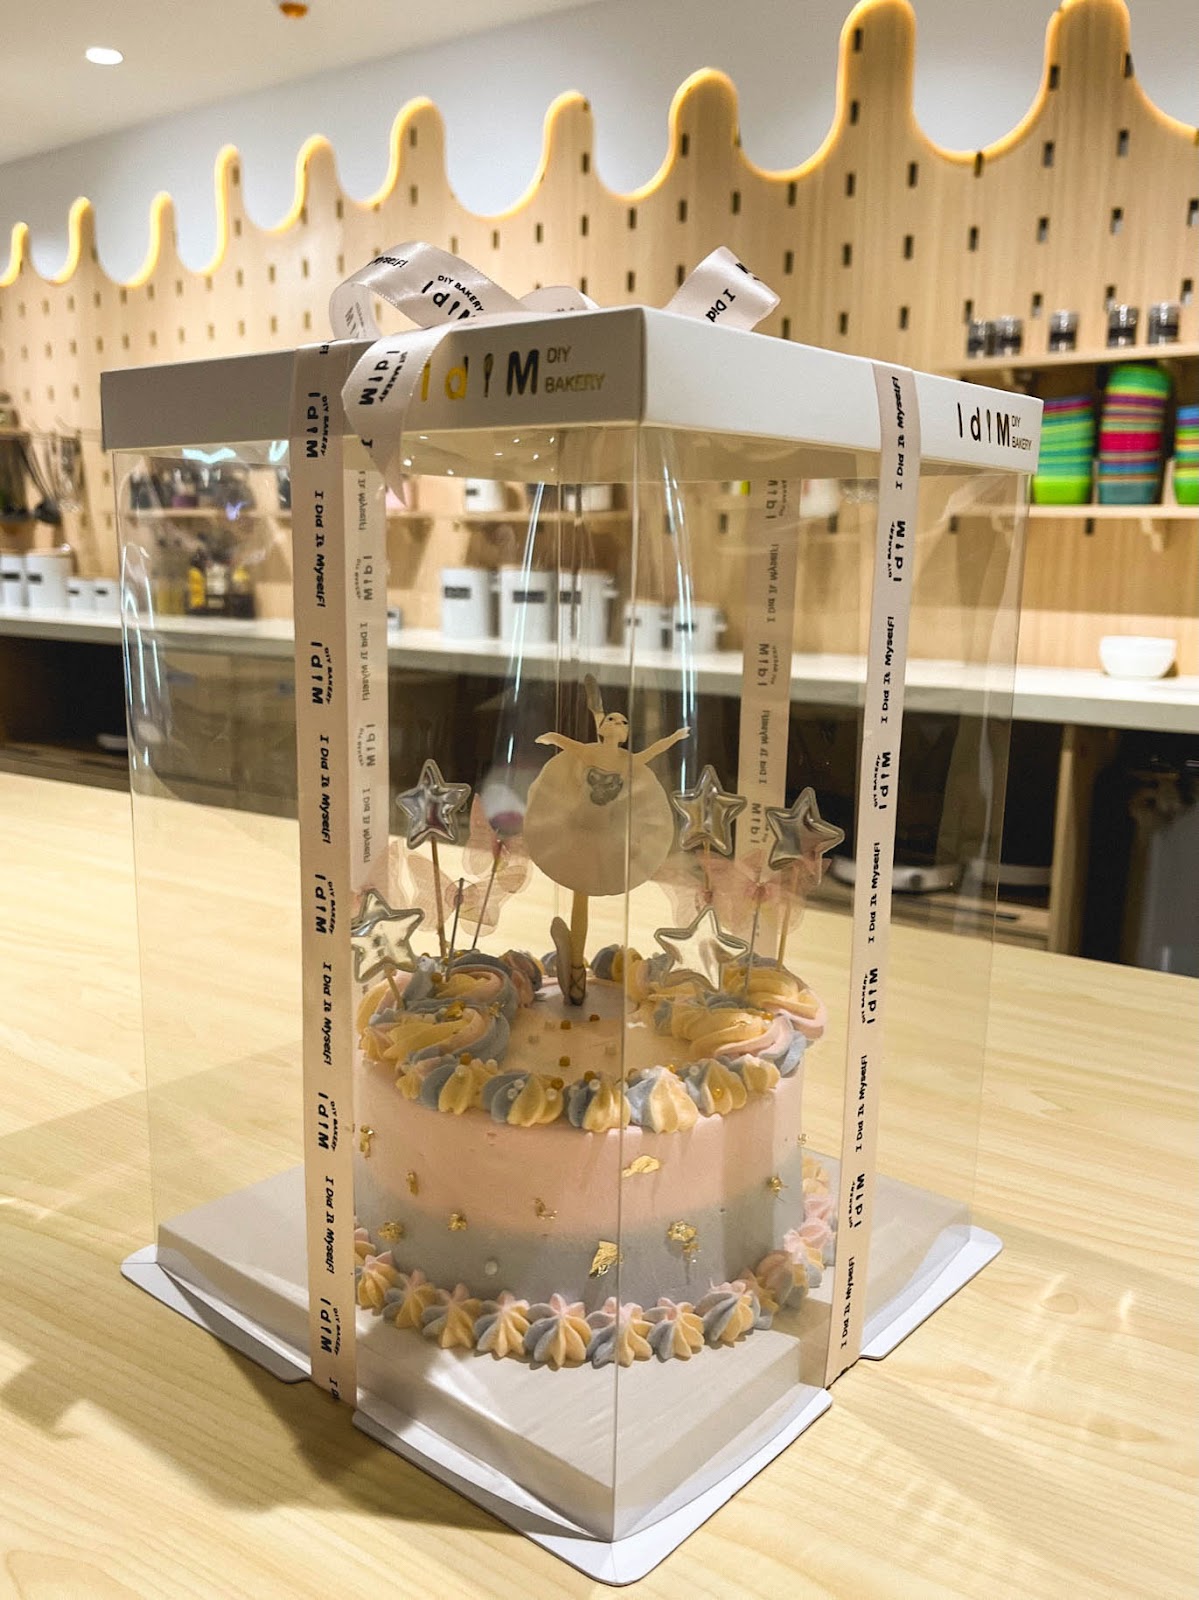
Another baking assistant taught us how to pipe icing nicely on the cake. She found butterfly and star decorations that would go well with our cake and even suggested adding gold leaf foils for a touch of sophistication. To top it all off, we added a ballerina topper as a final touch (extra toppers are added to your total bill).
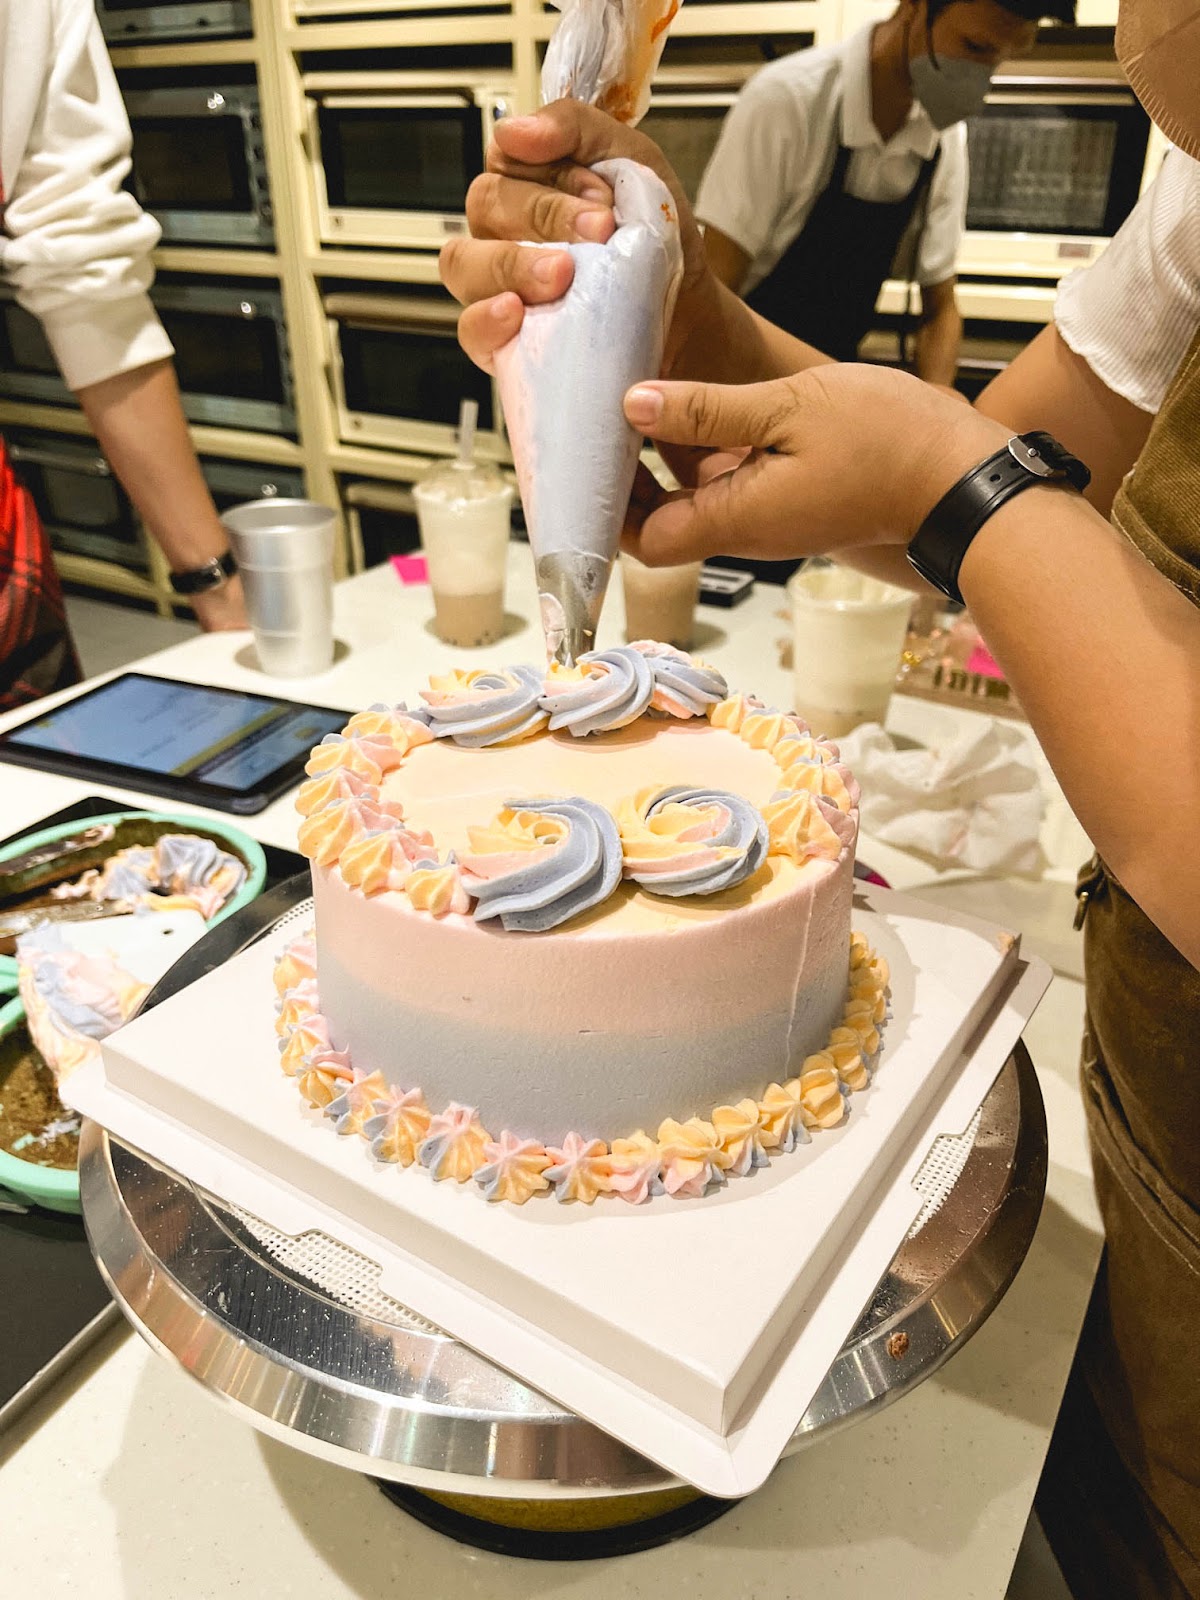
As we held our masterpiece, we couldn’t believe that this was something we made in a few hours without prior baking experience. Since we were already satisfied with our three-layered cake, the staff wrapped our sunset cake in a transparent box and ribbon of our choice.
On your way out, you can also showcase your decorated cakes on the pink wall and take more pictures at the entrance.
Anyone can bake
It seemed impossible to slice the cake we baked, but it was soft and fluffy when we cut through it. The spongecake was slightly airy, but also moist. The icing also doesn’t taste very sweet, but more on the creamy side.
One thing I would do differently next time is to put more icing in between the layers; but the best thing about baking in IDIM is that there’s always room for mistakes. The imperfections of your cake are what make it special, and you’ll learn next time.
Overall, I highly recommend the baking experience to anyone looking for a fun, bonding interactive activity. It’s best enjoyed when you’re working together with others. It’s perfect for parent-child bonding, barkadas, besties, or a fun date with your significant other! Learning a new skill and trying something new is always a great way to spend your time.
Our only tip is to make sure to wear comfortable clothes and footwear because you might be on your feet most of the time. Also, be mindful of your time, but don’t forget to have fun!
IDIM encourages creativity and your ability to follow instructions. Although I personally gravitate towards artsy activities, I can vouch that you don’t need pro-level decor skills or experience. In fact, IDIM could be your starting point and you might even surprise yourself. By the end, you’ll point to your masterpiece and proudly say, “I did that myself!”
For bookings, IDIM accepts walk-ins or reservations made through its website. – Rappler.com
Sydney Cañamo is a Rappler intern.
Add a comment
How does this make you feel?
There are no comments yet. Add your comment to start the conversation.